Image 1 of 5
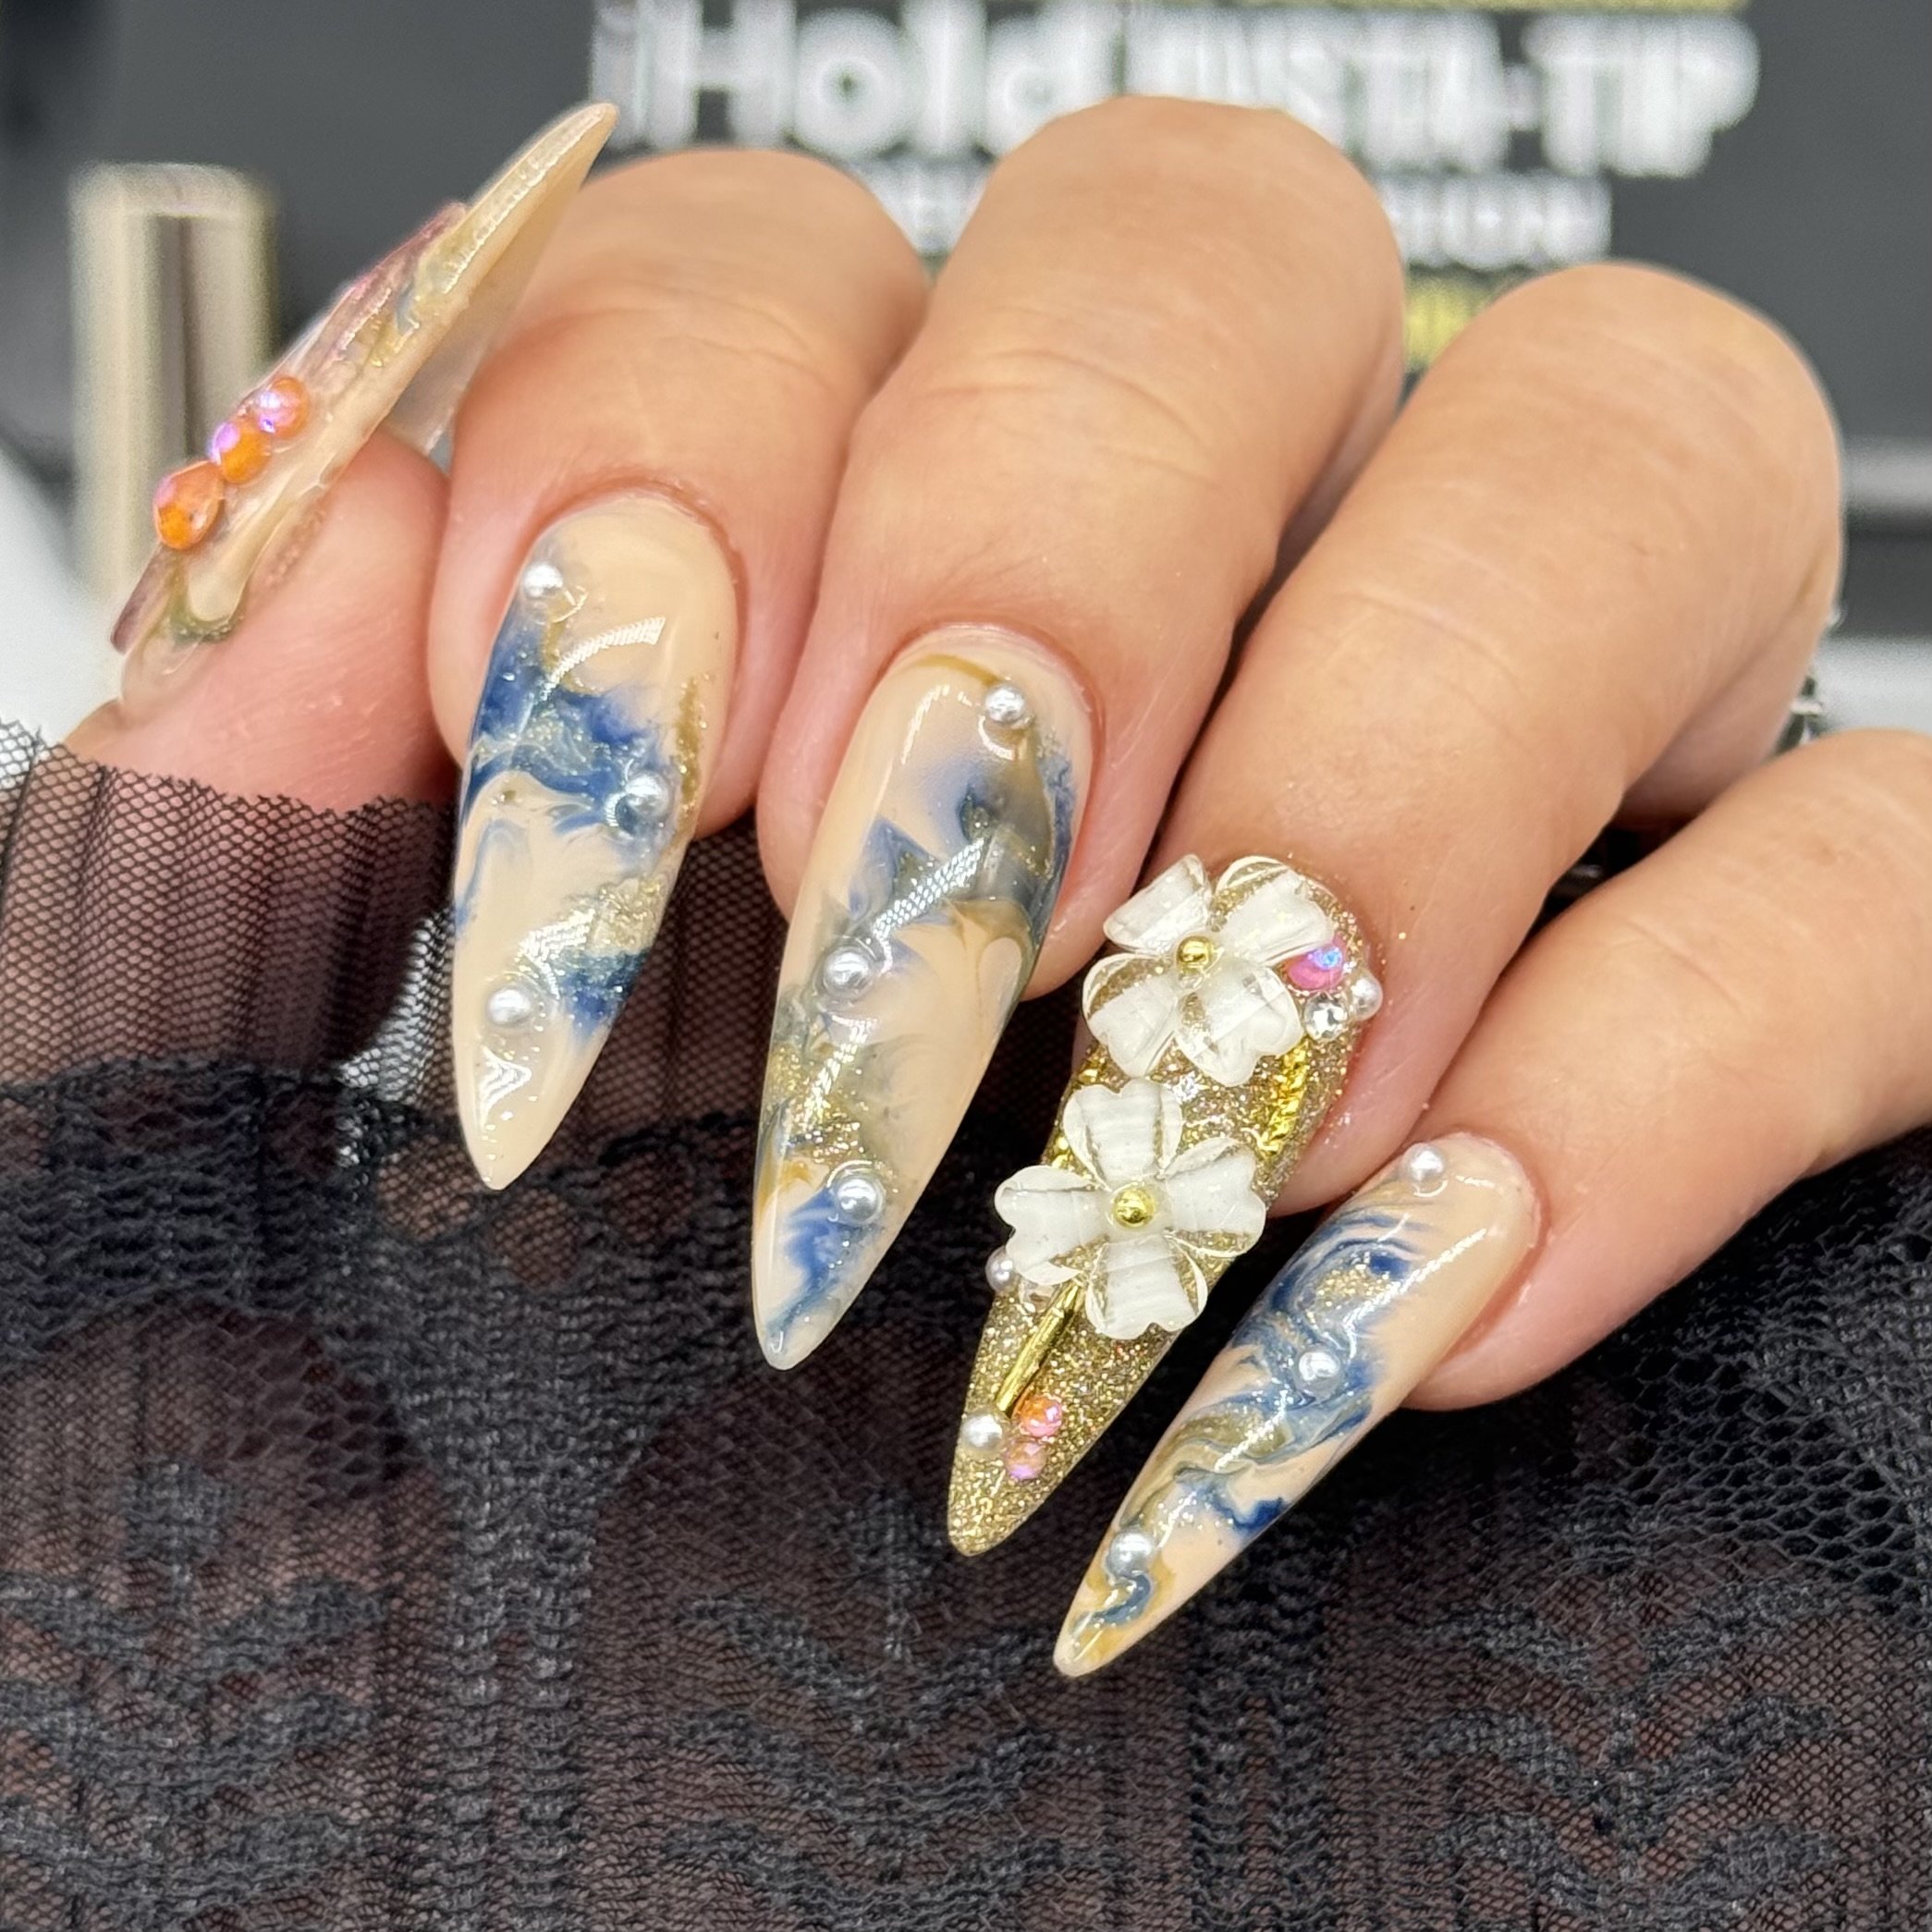 Image 2 of 5
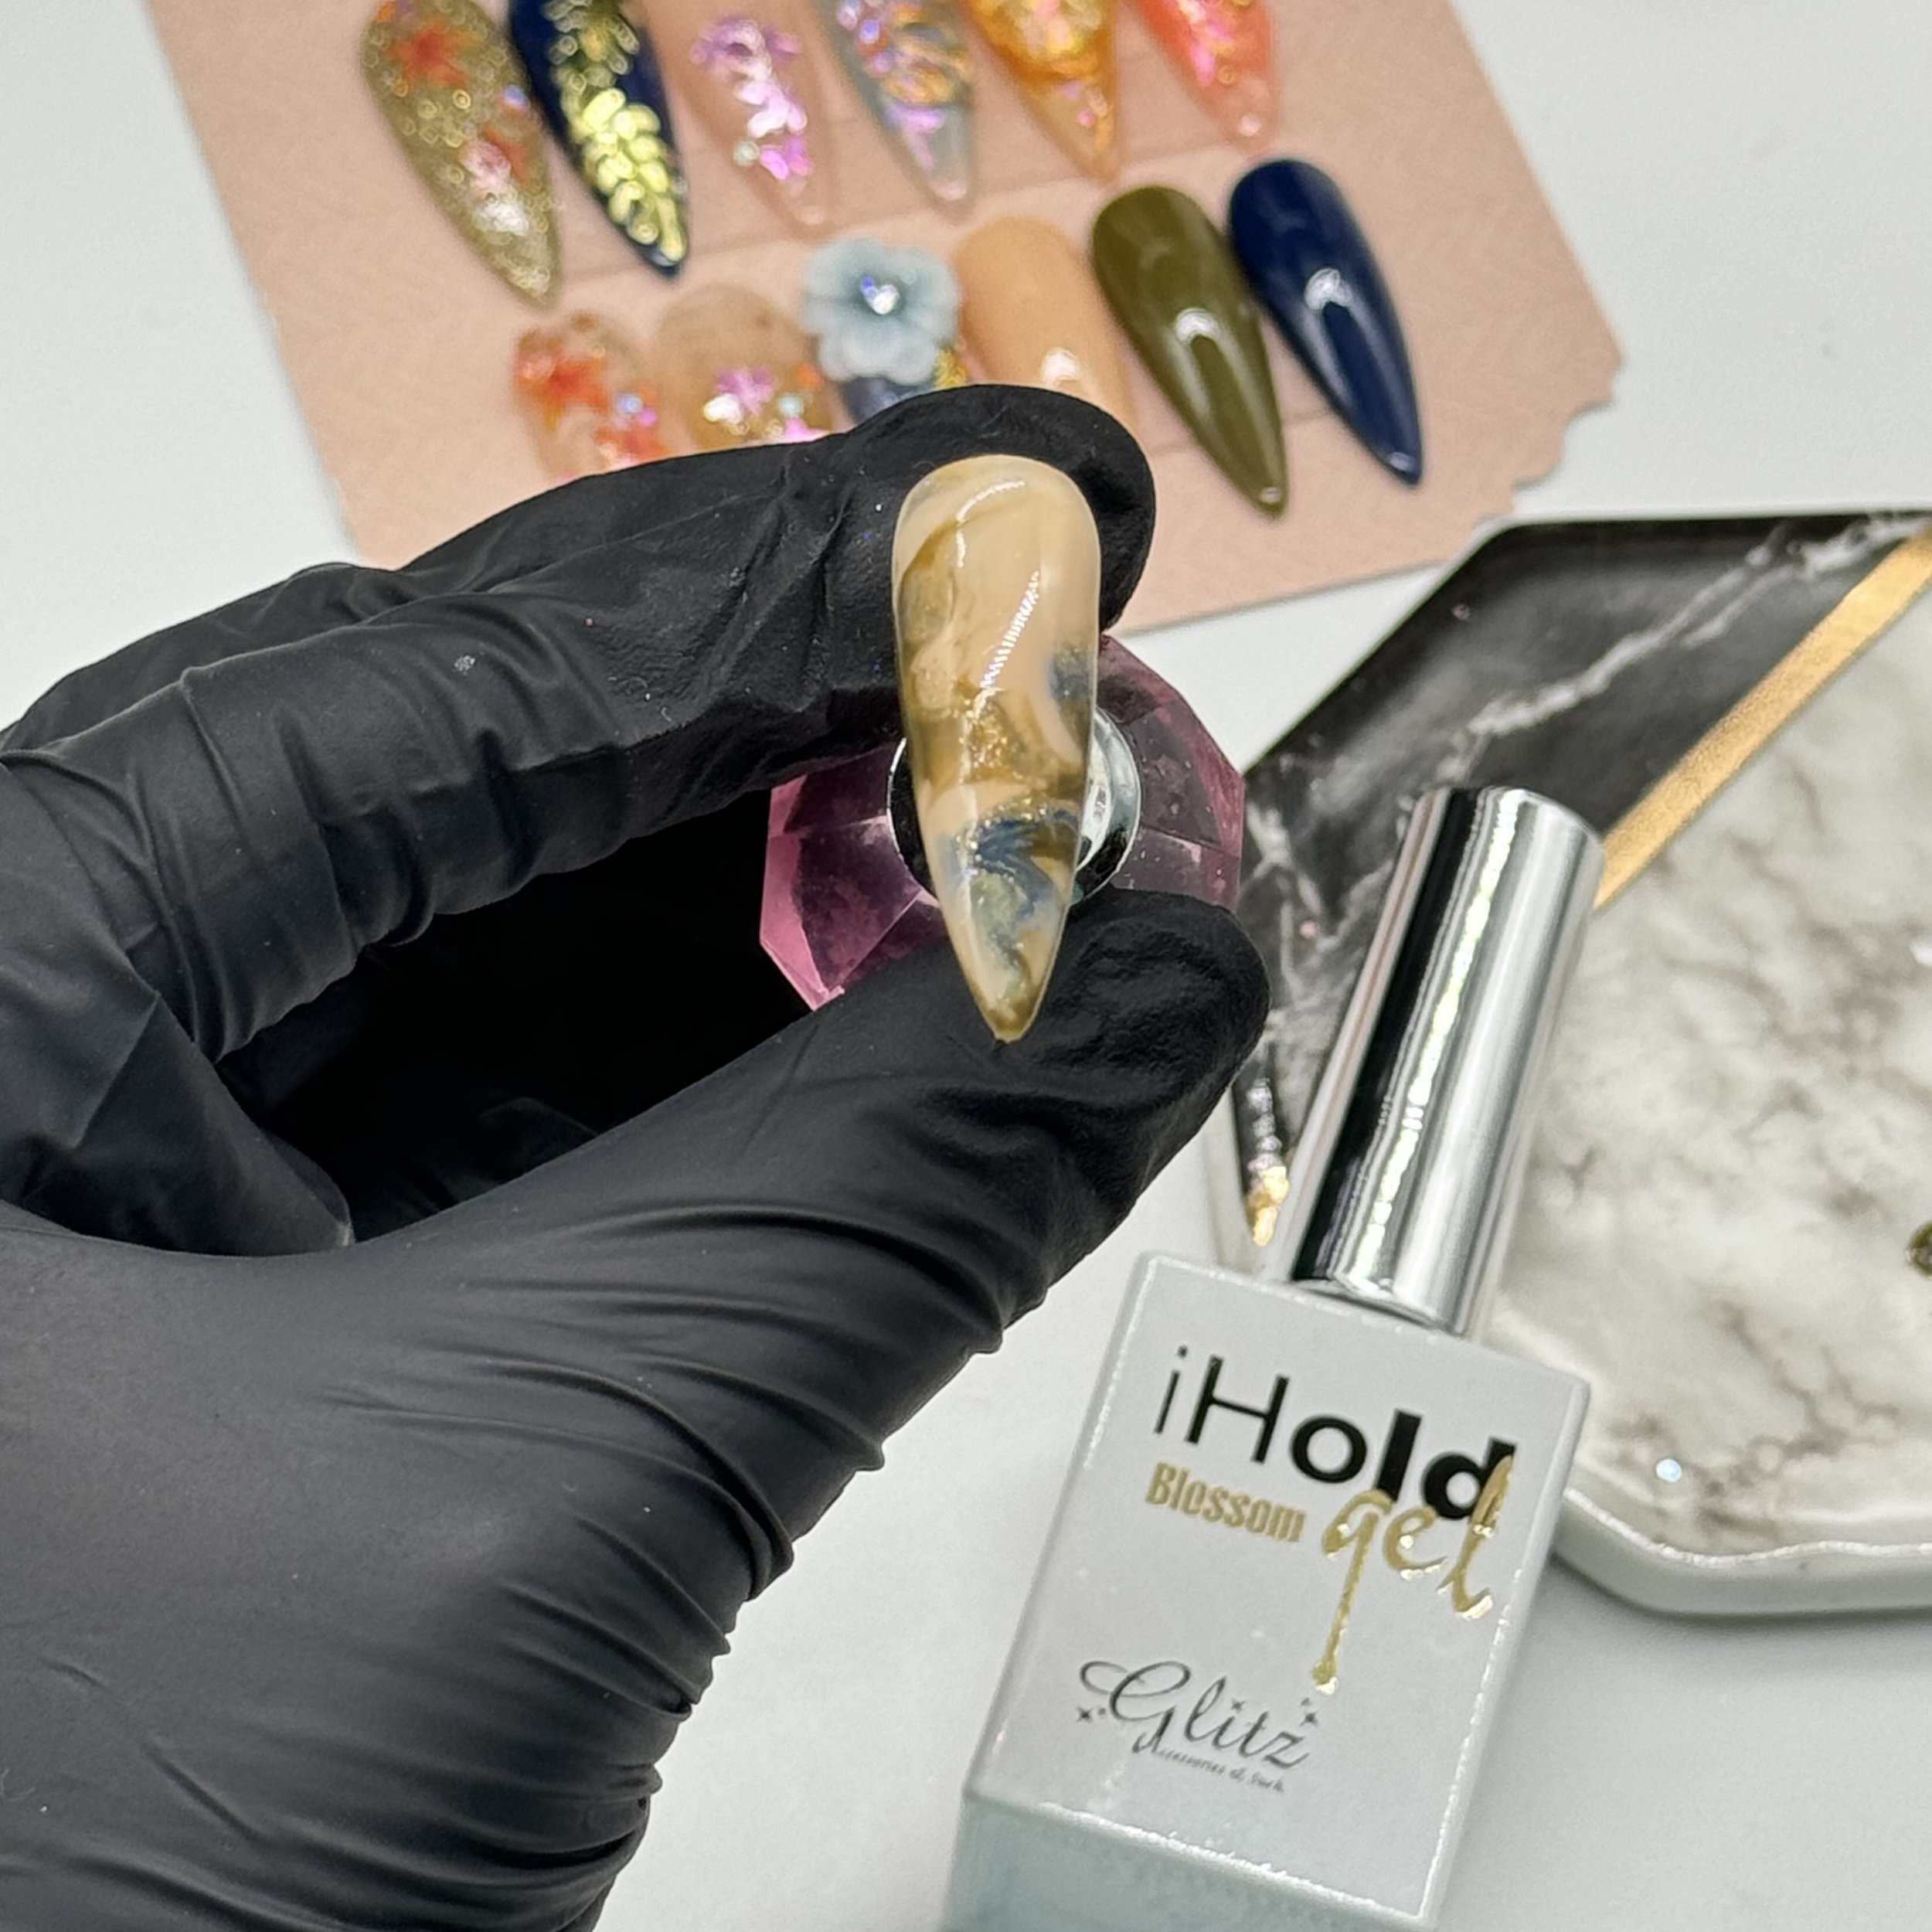 Image 3 of 5
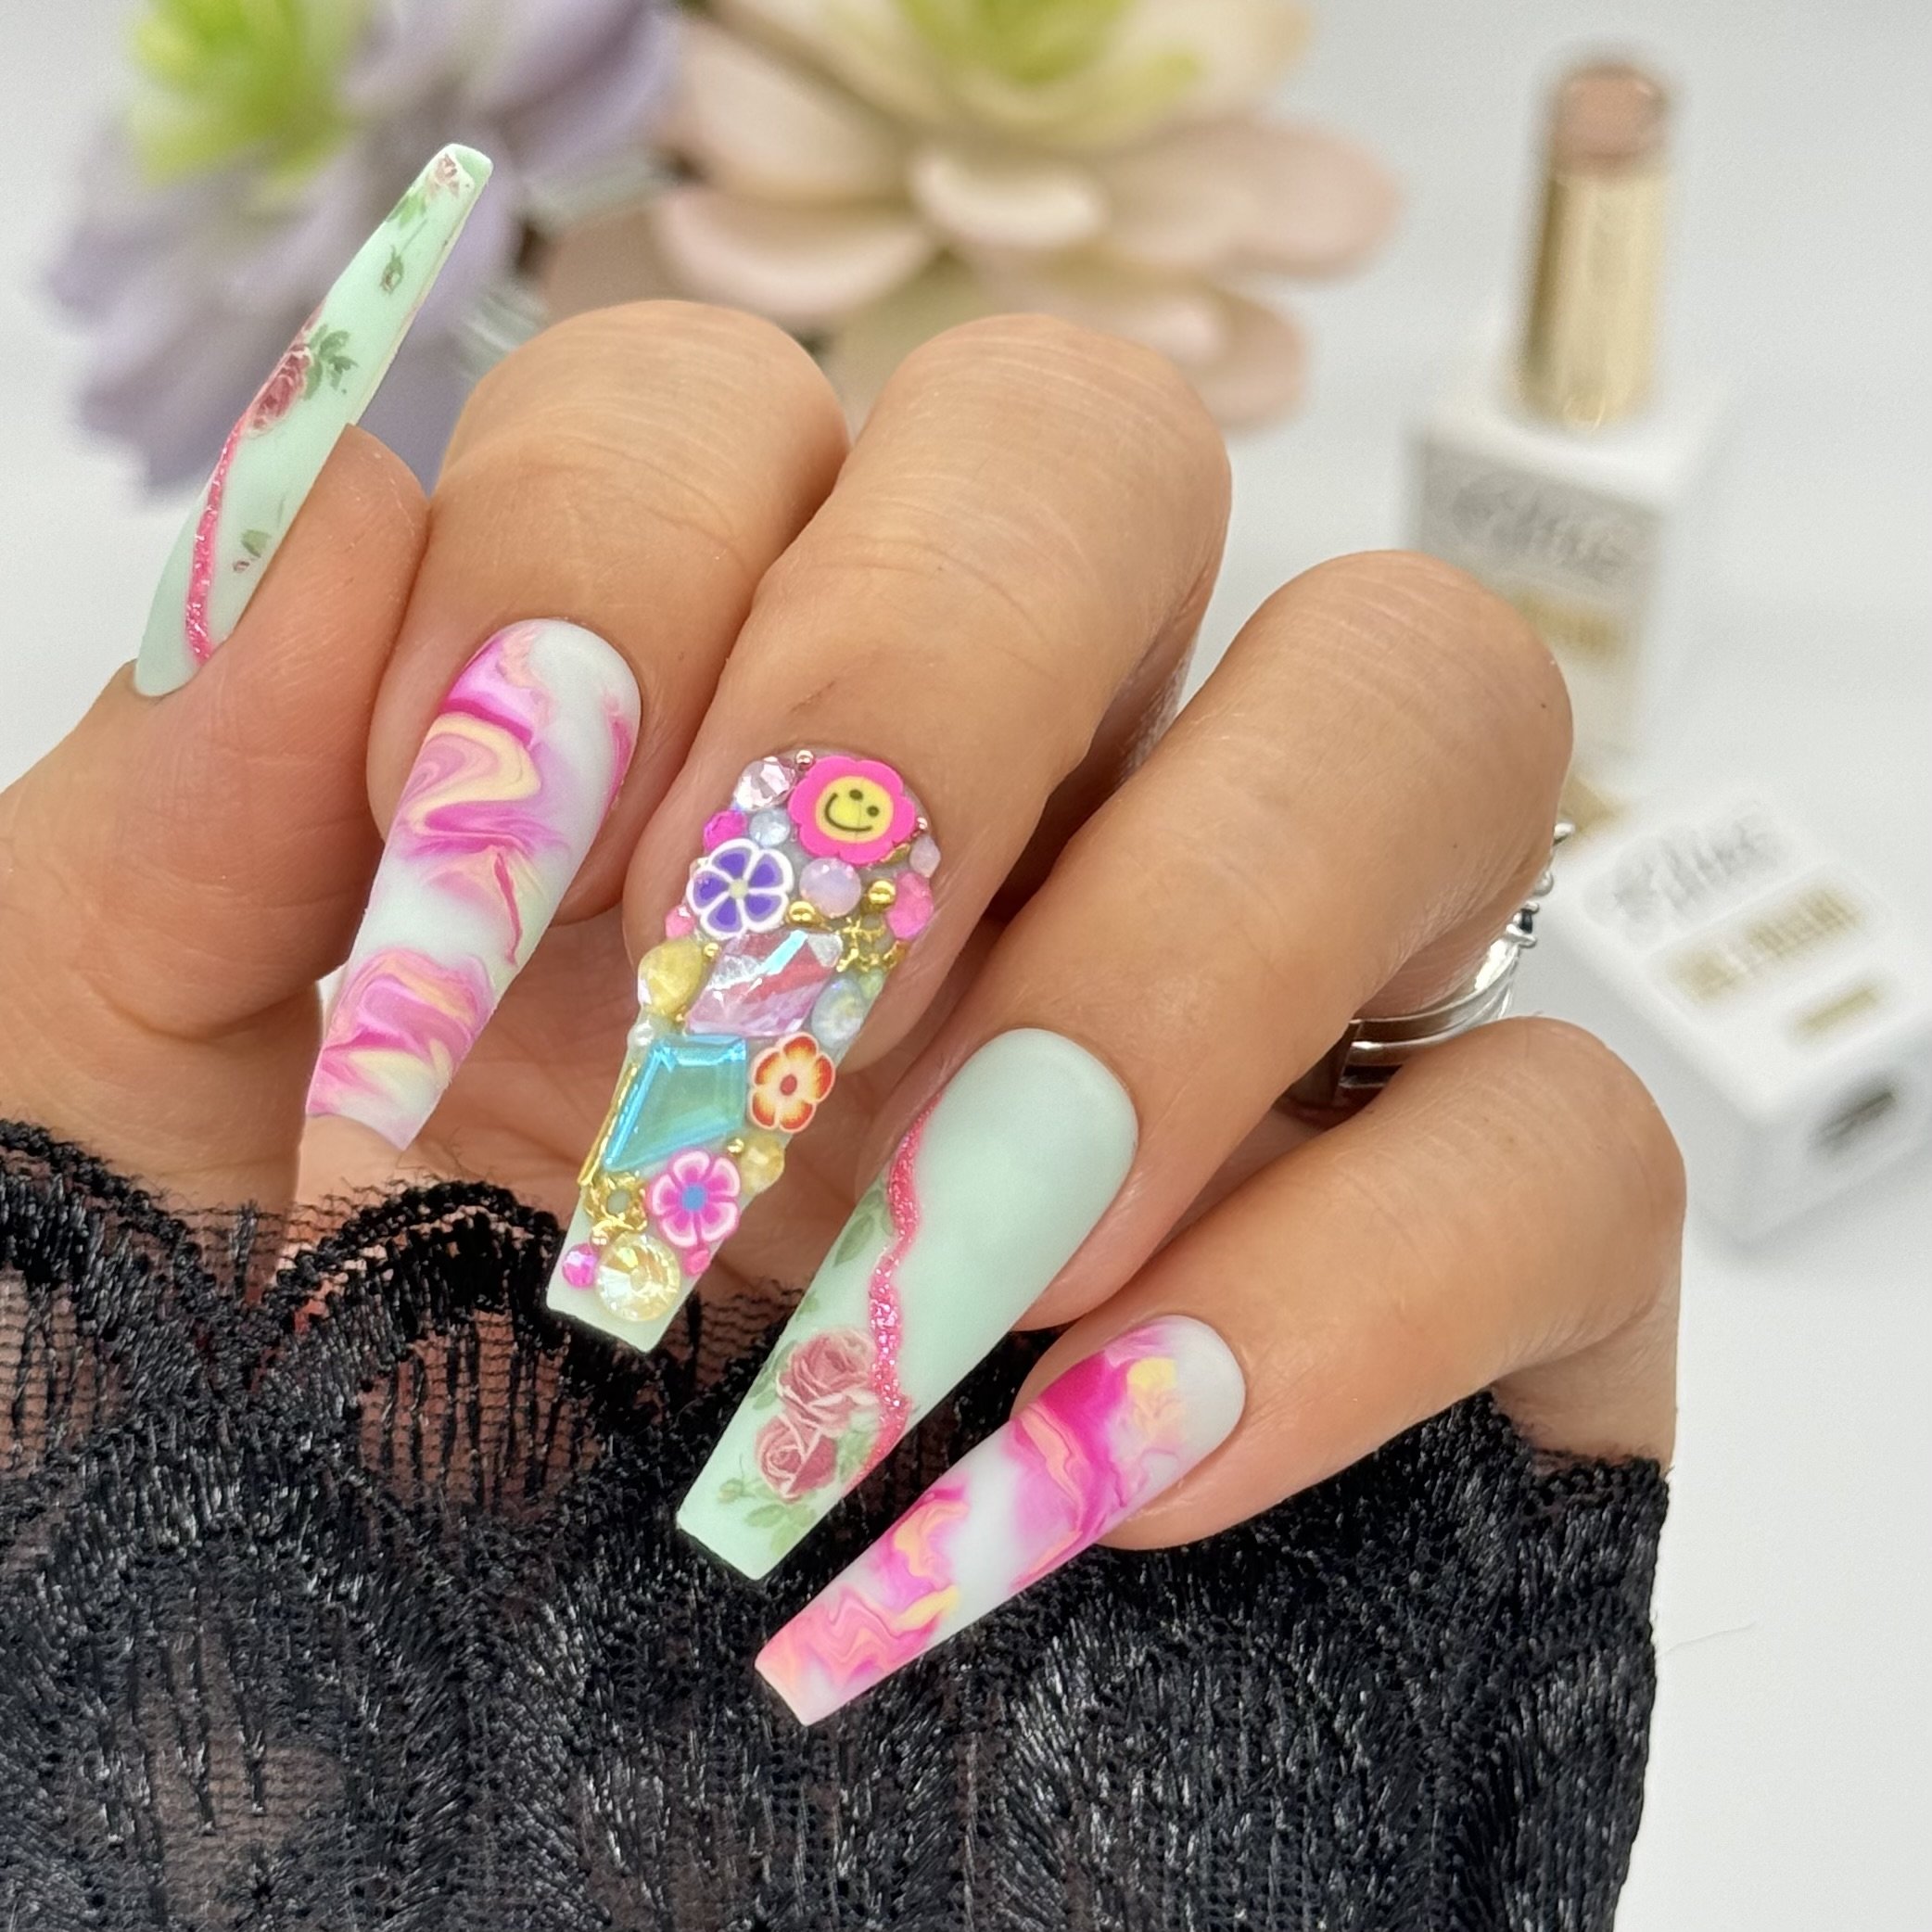 Image 4 of 5
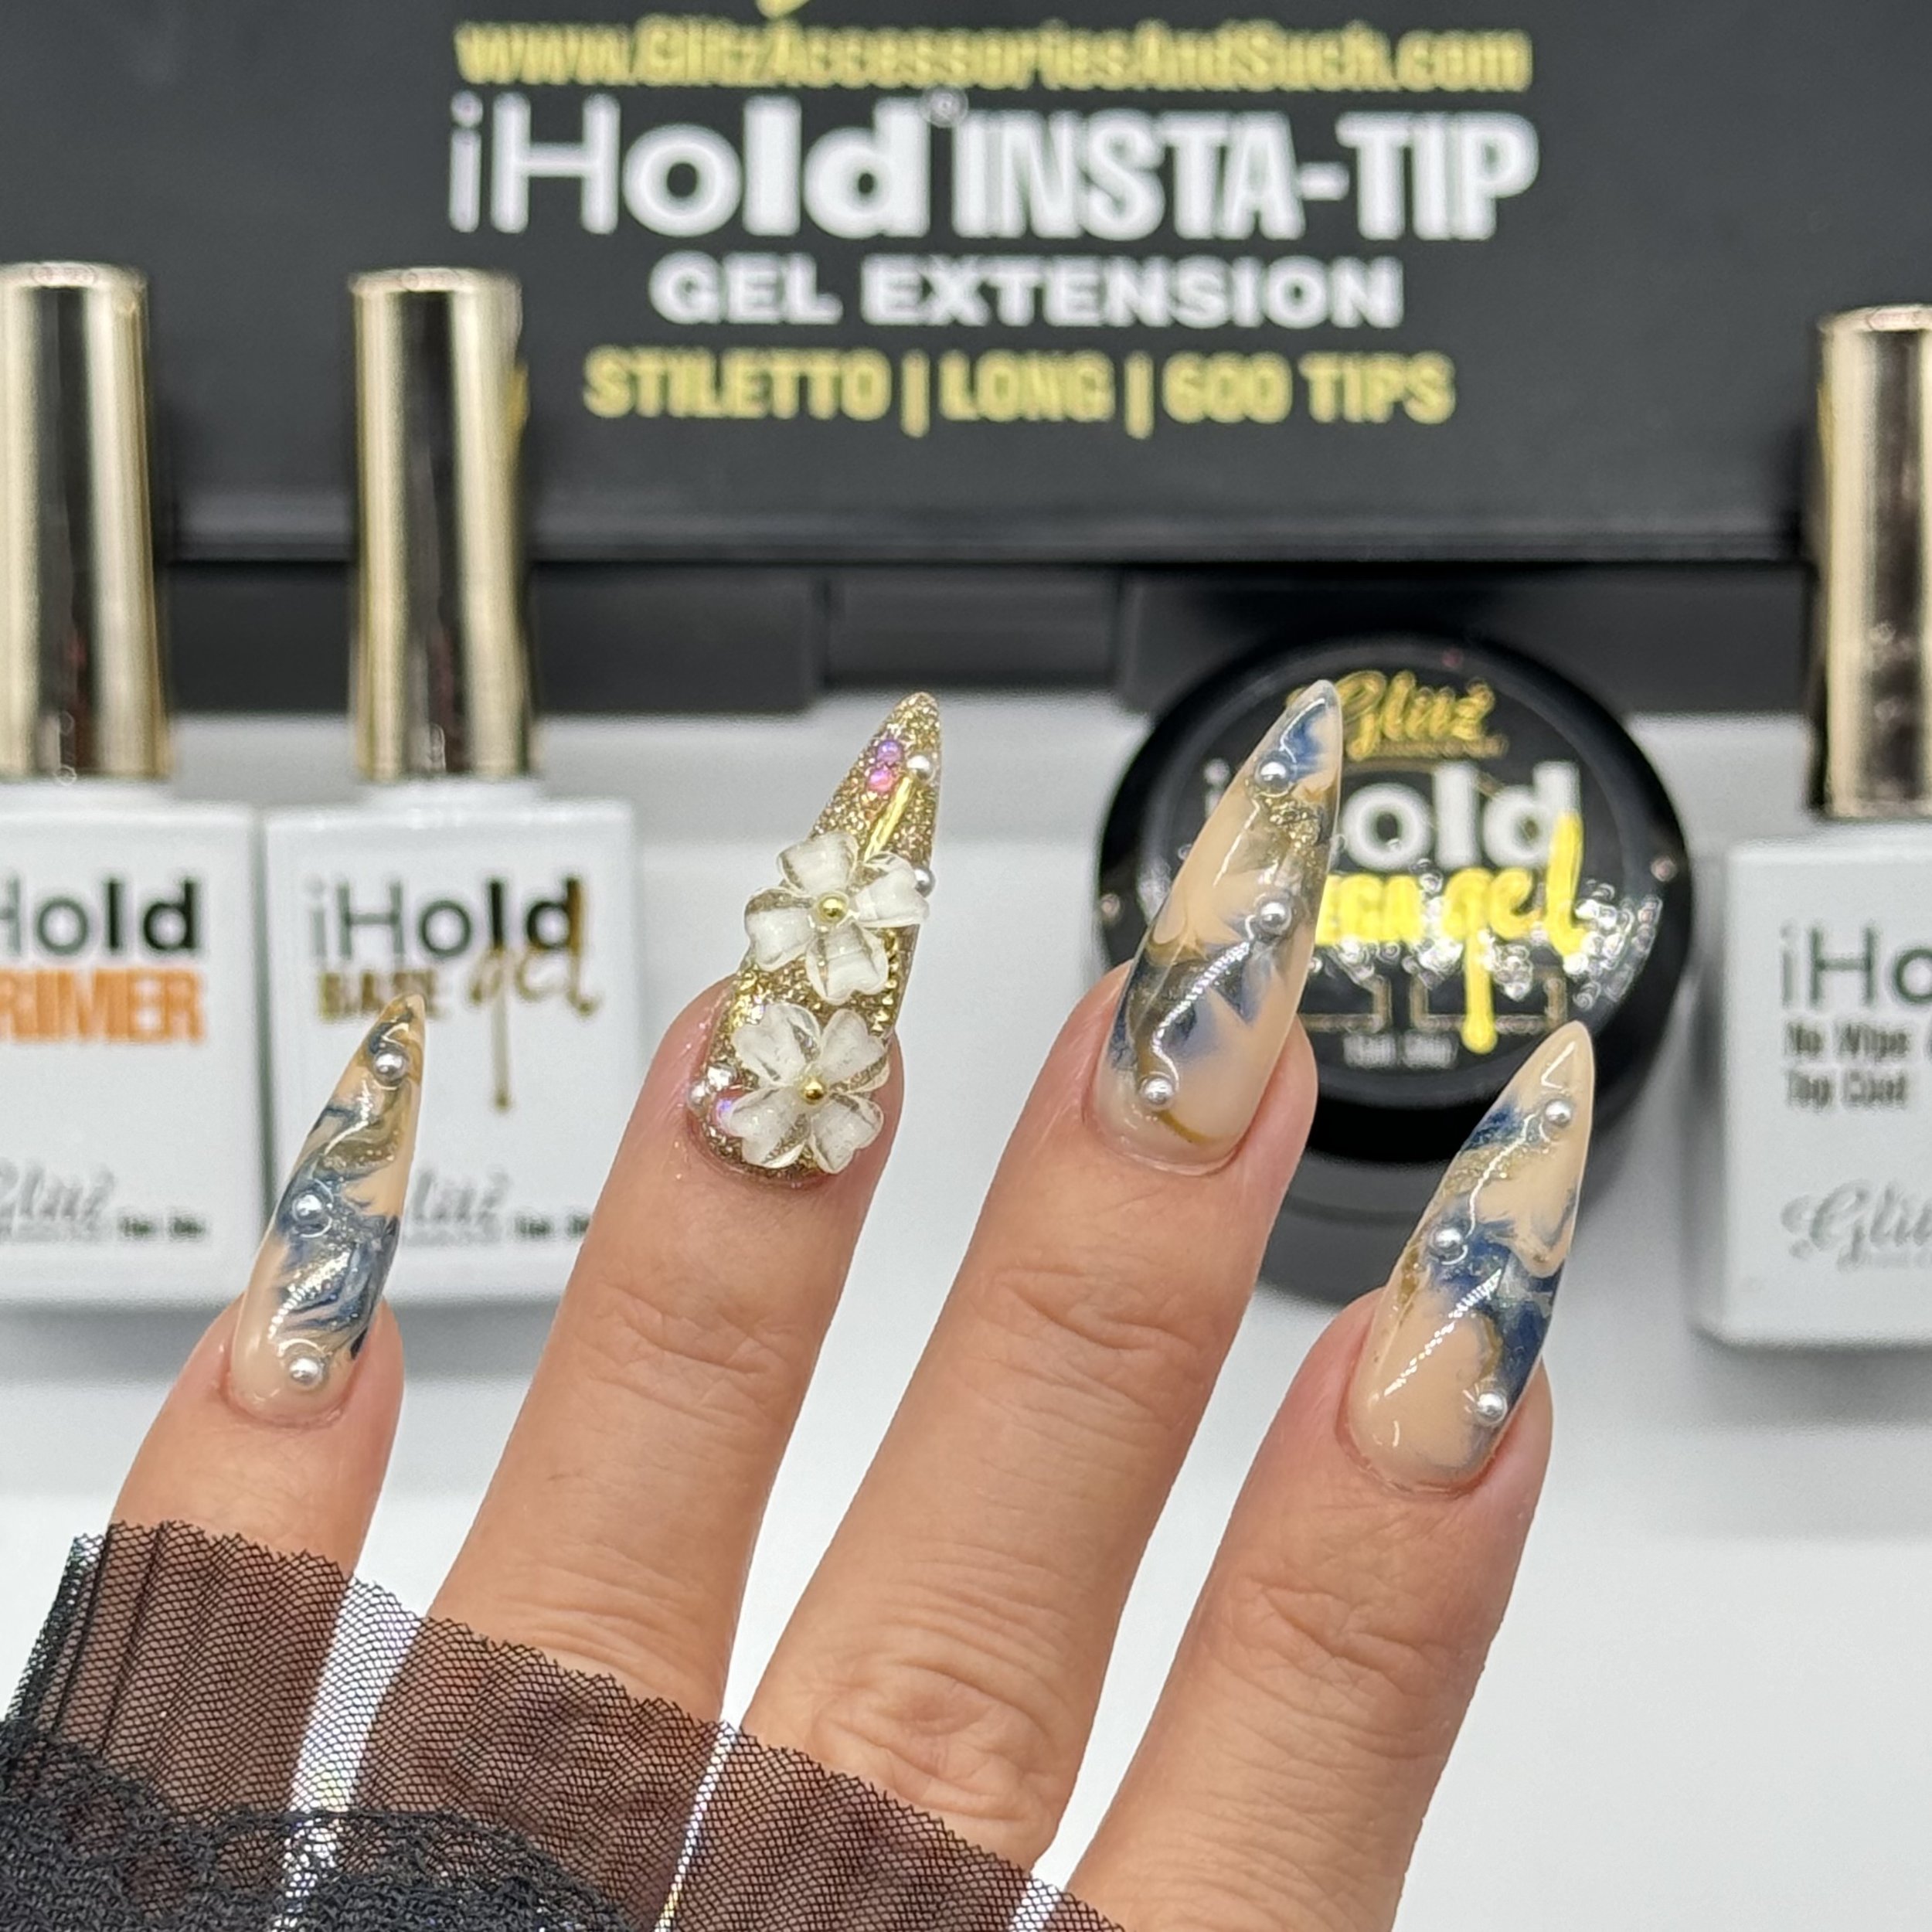 Image 5 of 5
Glitz iHold Blossom Gel creates effortless blooming, marble, floral, watercolor, and abstract nail art. Its easy-spreading formula gives nail techs beautiful, professional designs in seconds—perfect for beginners and pros!
Net Wt. 15 mL / 0.5 fl oz
Create effortless blooming, marble, floral, watercolor, and reptile-inspired nail art in just a few steps!
Prep the nail
Shape the nail, gently remove the surface shine, clean away dust, and apply nail dehydrator and primer if needed.
Apply base coat
Apply a thin layer of Glitz Base Coat and cure for 30–60 seconds under a UV/LED lamp.
Apply your base color
Apply your favorite Glitz Gel Polish color and cure. Repeat for a second coat if needed.
Apply Blossom Gel
Apply a thin, even layer of Glitz Blossom Gel. Do not cure yet.
Create your design
Add small dots, lines, or petals of gel polish over the uncured Blossom Gel. Watch the color naturally spread and “blossom.”
Control the effect
Allow the design to bloom for a few seconds. Use less product for a delicate look or slightly more for a dramatic effect. Do not wait too long, or the design may spread too much.
Cure the design
Once you are happy with the pattern, cure for 60 seconds under a UV/LED lamp.
Seal with top coat
Apply Glitz Top Coat and cure for 60 seconds. Cleanse the sticky layer if your top coat requires it.
Glitz Pro Tip: Work on one nail at a time for better control. Keep each layer thin, and use highly pigmented gel colors so your blooming design stays crisp and vibrant.
Shop Glitz nail essentials: www.glitzaccessoriesandsuch.com ✨
Glitz iHold Blossom Gel creates effortless blooming, marble, floral, watercolor, and abstract nail art. Its easy-spreading formula gives nail techs beautiful, professional designs in seconds—perfect for beginners and pros!
Net Wt. 15 mL / 0.5 fl oz
Create effortless blooming, marble, floral, watercolor, and reptile-inspired nail art in just a few steps!
Prep the nail
Shape the nail, gently remove the surface shine, clean away dust, and apply nail dehydrator and primer if needed.
Apply base coat
Apply a thin layer of Glitz Base Coat and cure for 30–60 seconds under a UV/LED lamp.
Apply your base color
Apply your favorite Glitz Gel Polish color and cure. Repeat for a second coat if needed.
Apply Blossom Gel
Apply a thin, even layer of Glitz Blossom Gel. Do not cure yet.
Create your design
Add small dots, lines, or petals of gel polish over the uncured Blossom Gel. Watch the color naturally spread and “blossom.”
Control the effect
Allow the design to bloom for a few seconds. Use less product for a delicate look or slightly more for a dramatic effect. Do not wait too long, or the design may spread too much.
Cure the design
Once you are happy with the pattern, cure for 60 seconds under a UV/LED lamp.
Seal with top coat
Apply Glitz Top Coat and cure for 60 seconds. Cleanse the sticky layer if your top coat requires it.
Glitz Pro Tip: Work on one nail at a time for better control. Keep each layer thin, and use highly pigmented gel colors so your blooming design stays crisp and vibrant.
Shop Glitz nail essentials: www.glitzaccessoriesandsuch.com ✨