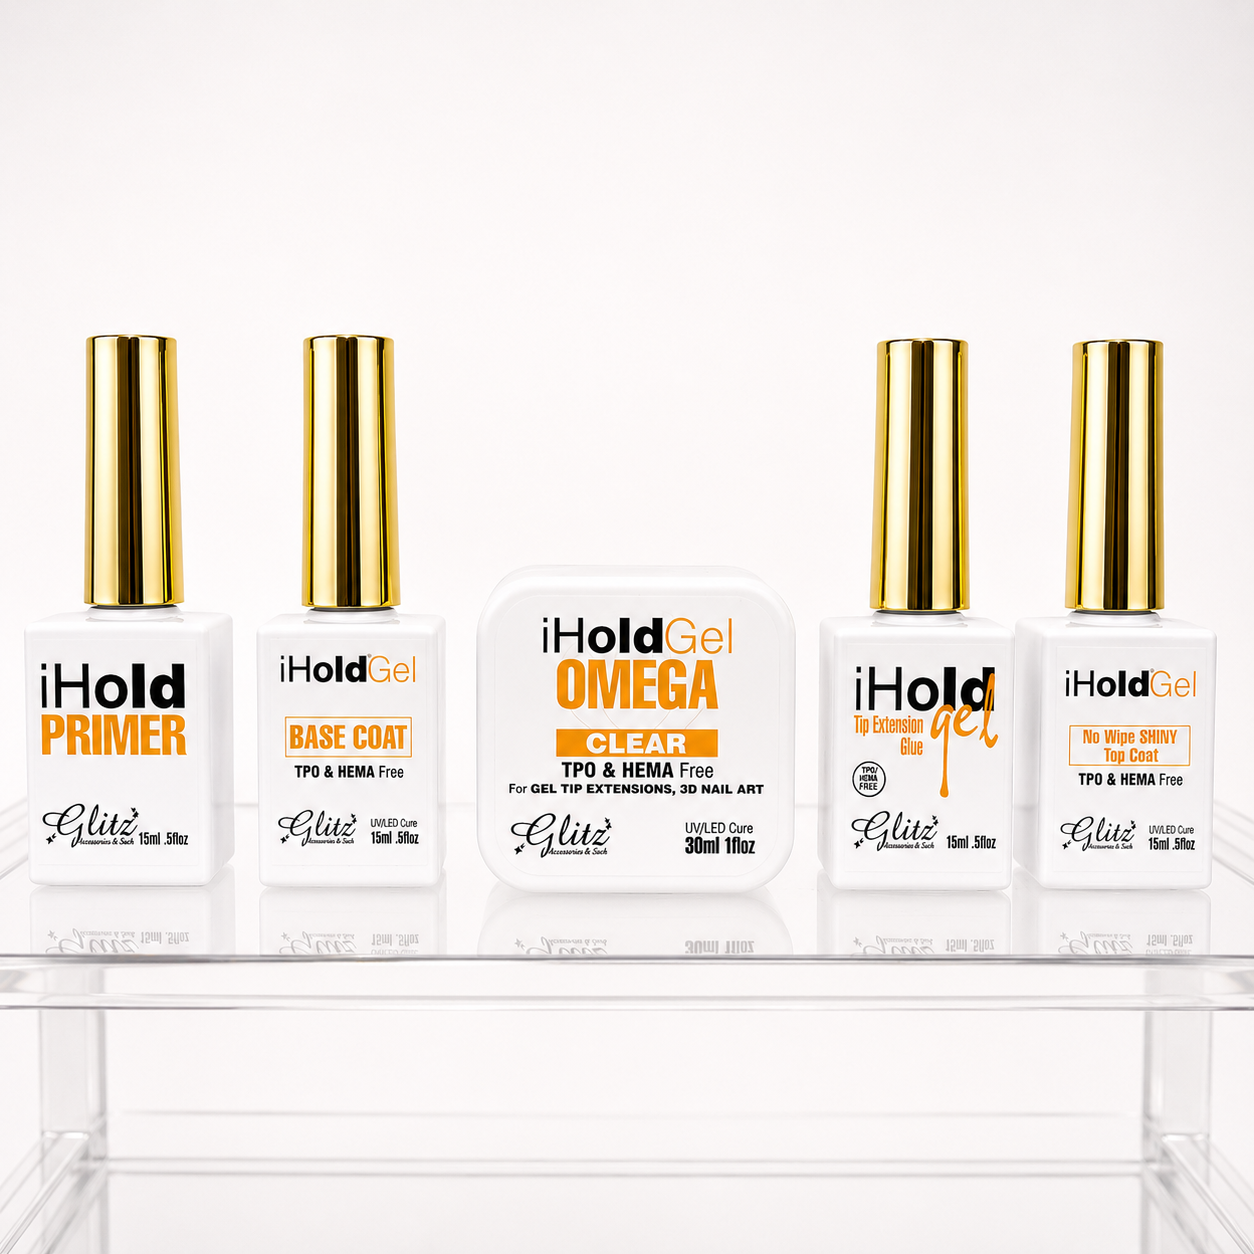
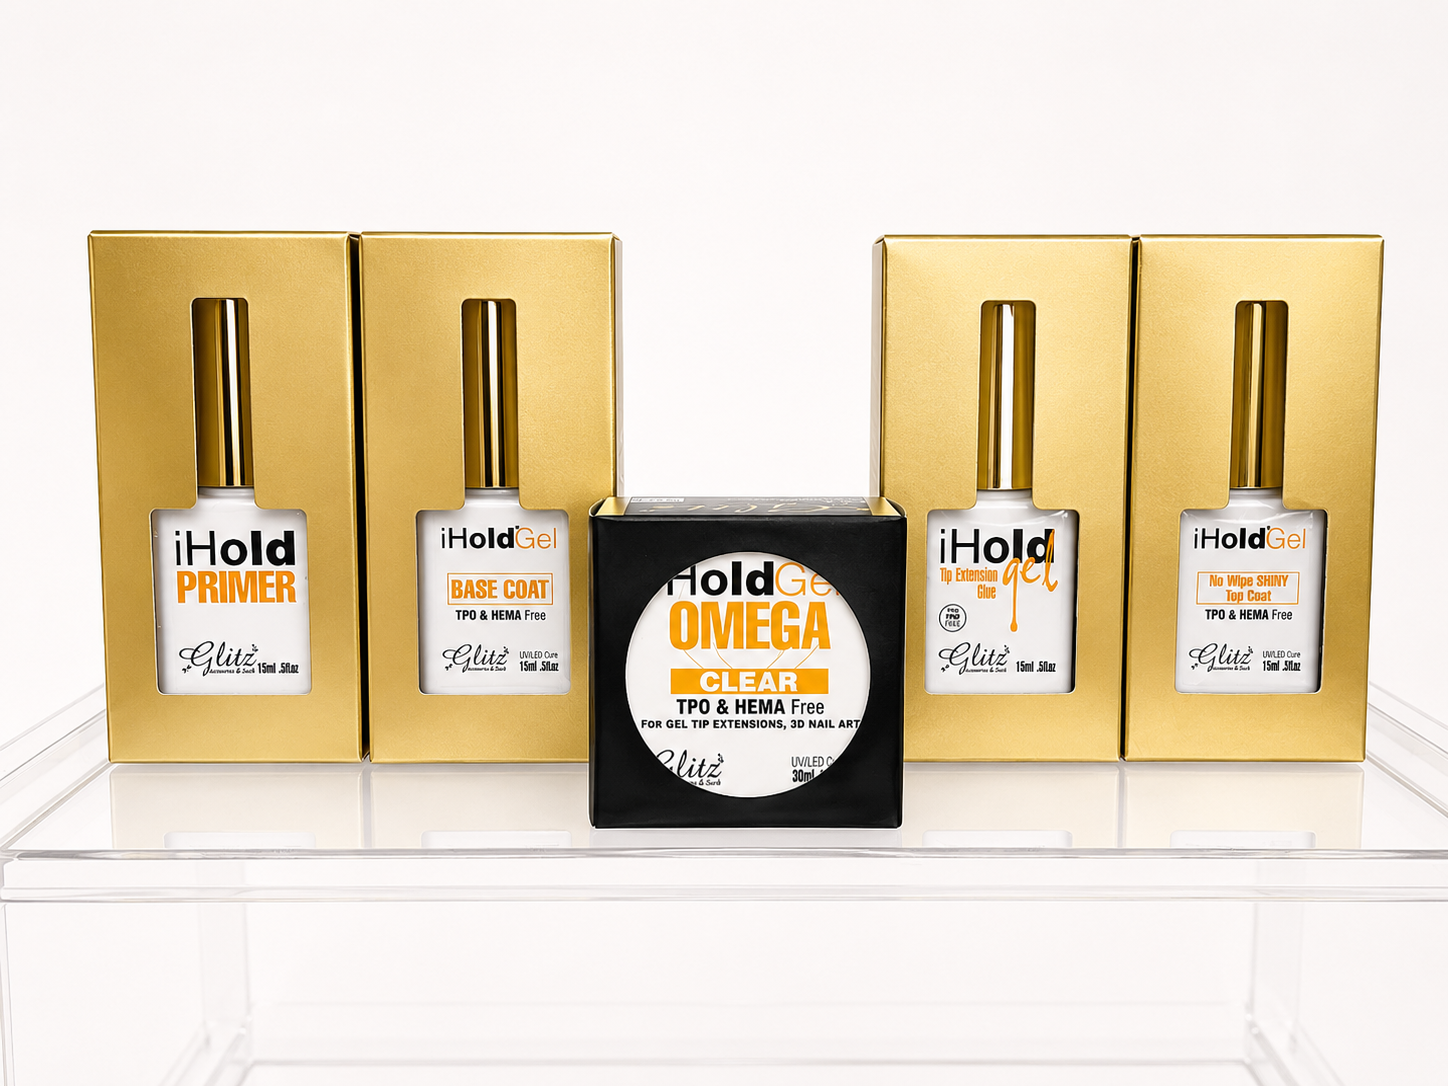
iHold Omega Gel – Clear
Net Wt. 30ml / 1 fl oz
One Gel. Endless Possibilities. ✨
iHold Omega Gel – Clear is a crystal-clear, solid gel designed for multiple nail techniques in one jar. Its unique non-sticky, tack-free, TPO & HEMA Free formula • UV/LED Curable • Crystal Clear Finish
Perfect For:
💎 Gel Tip Extensions
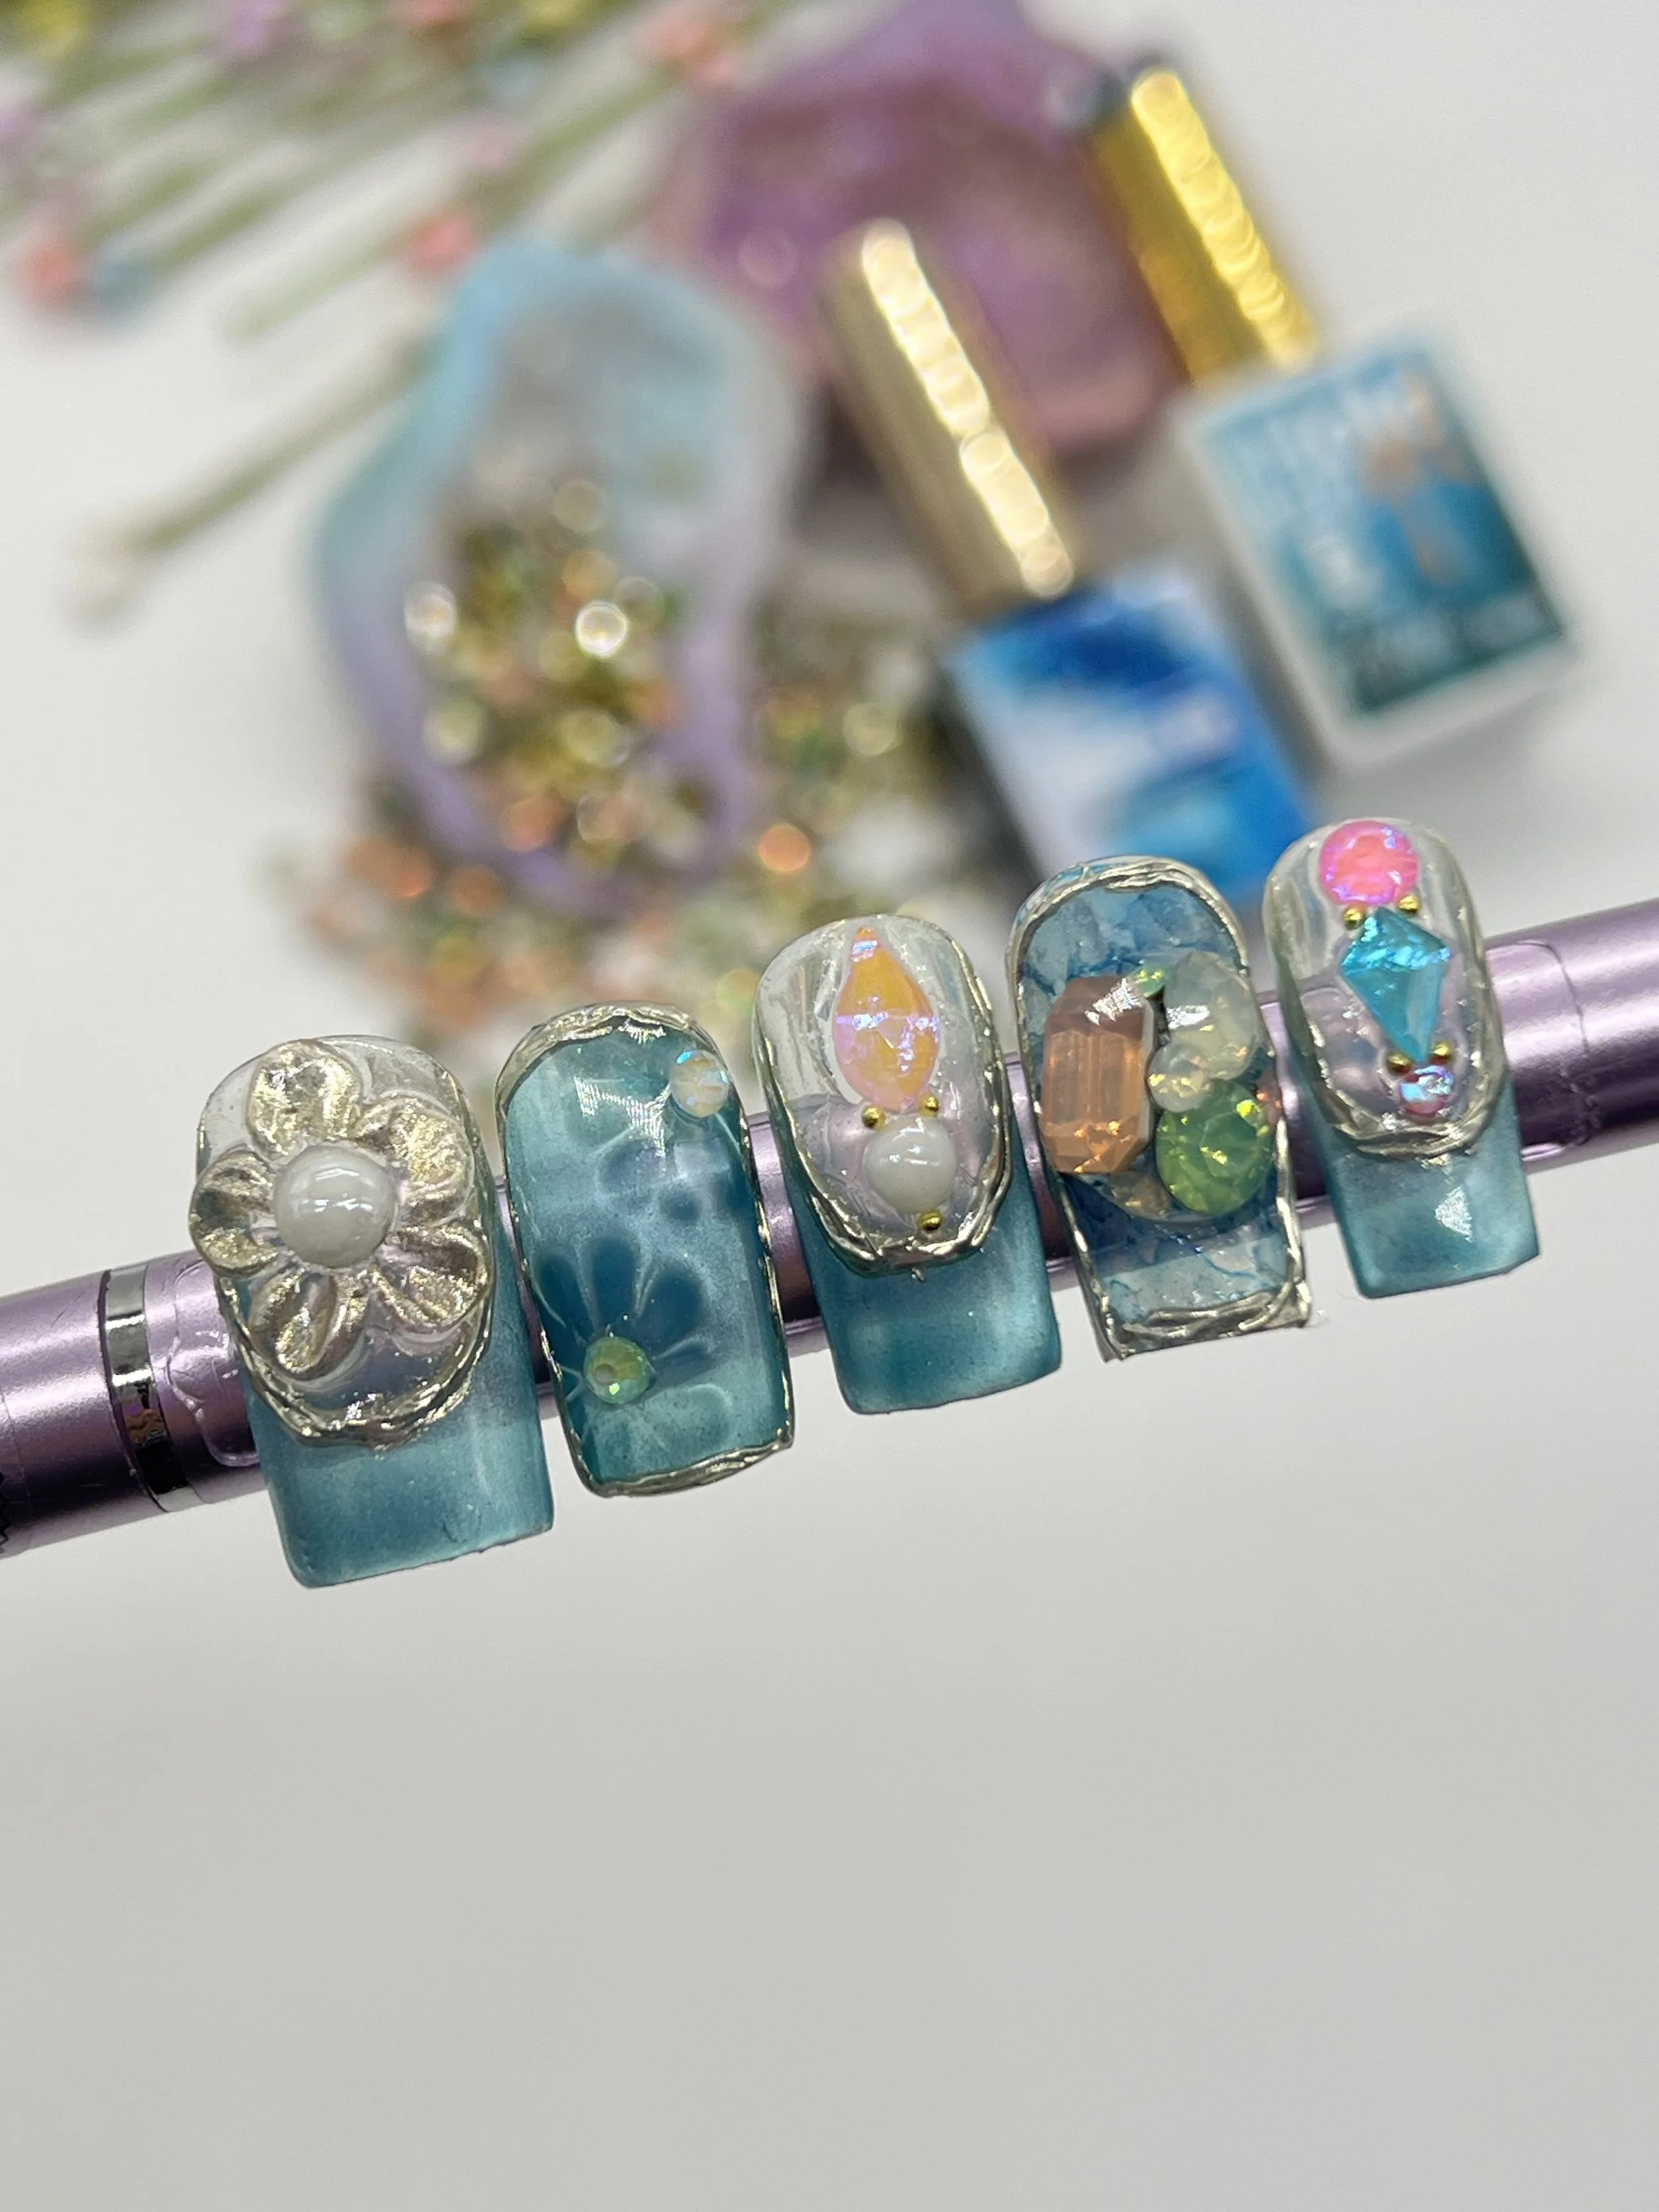
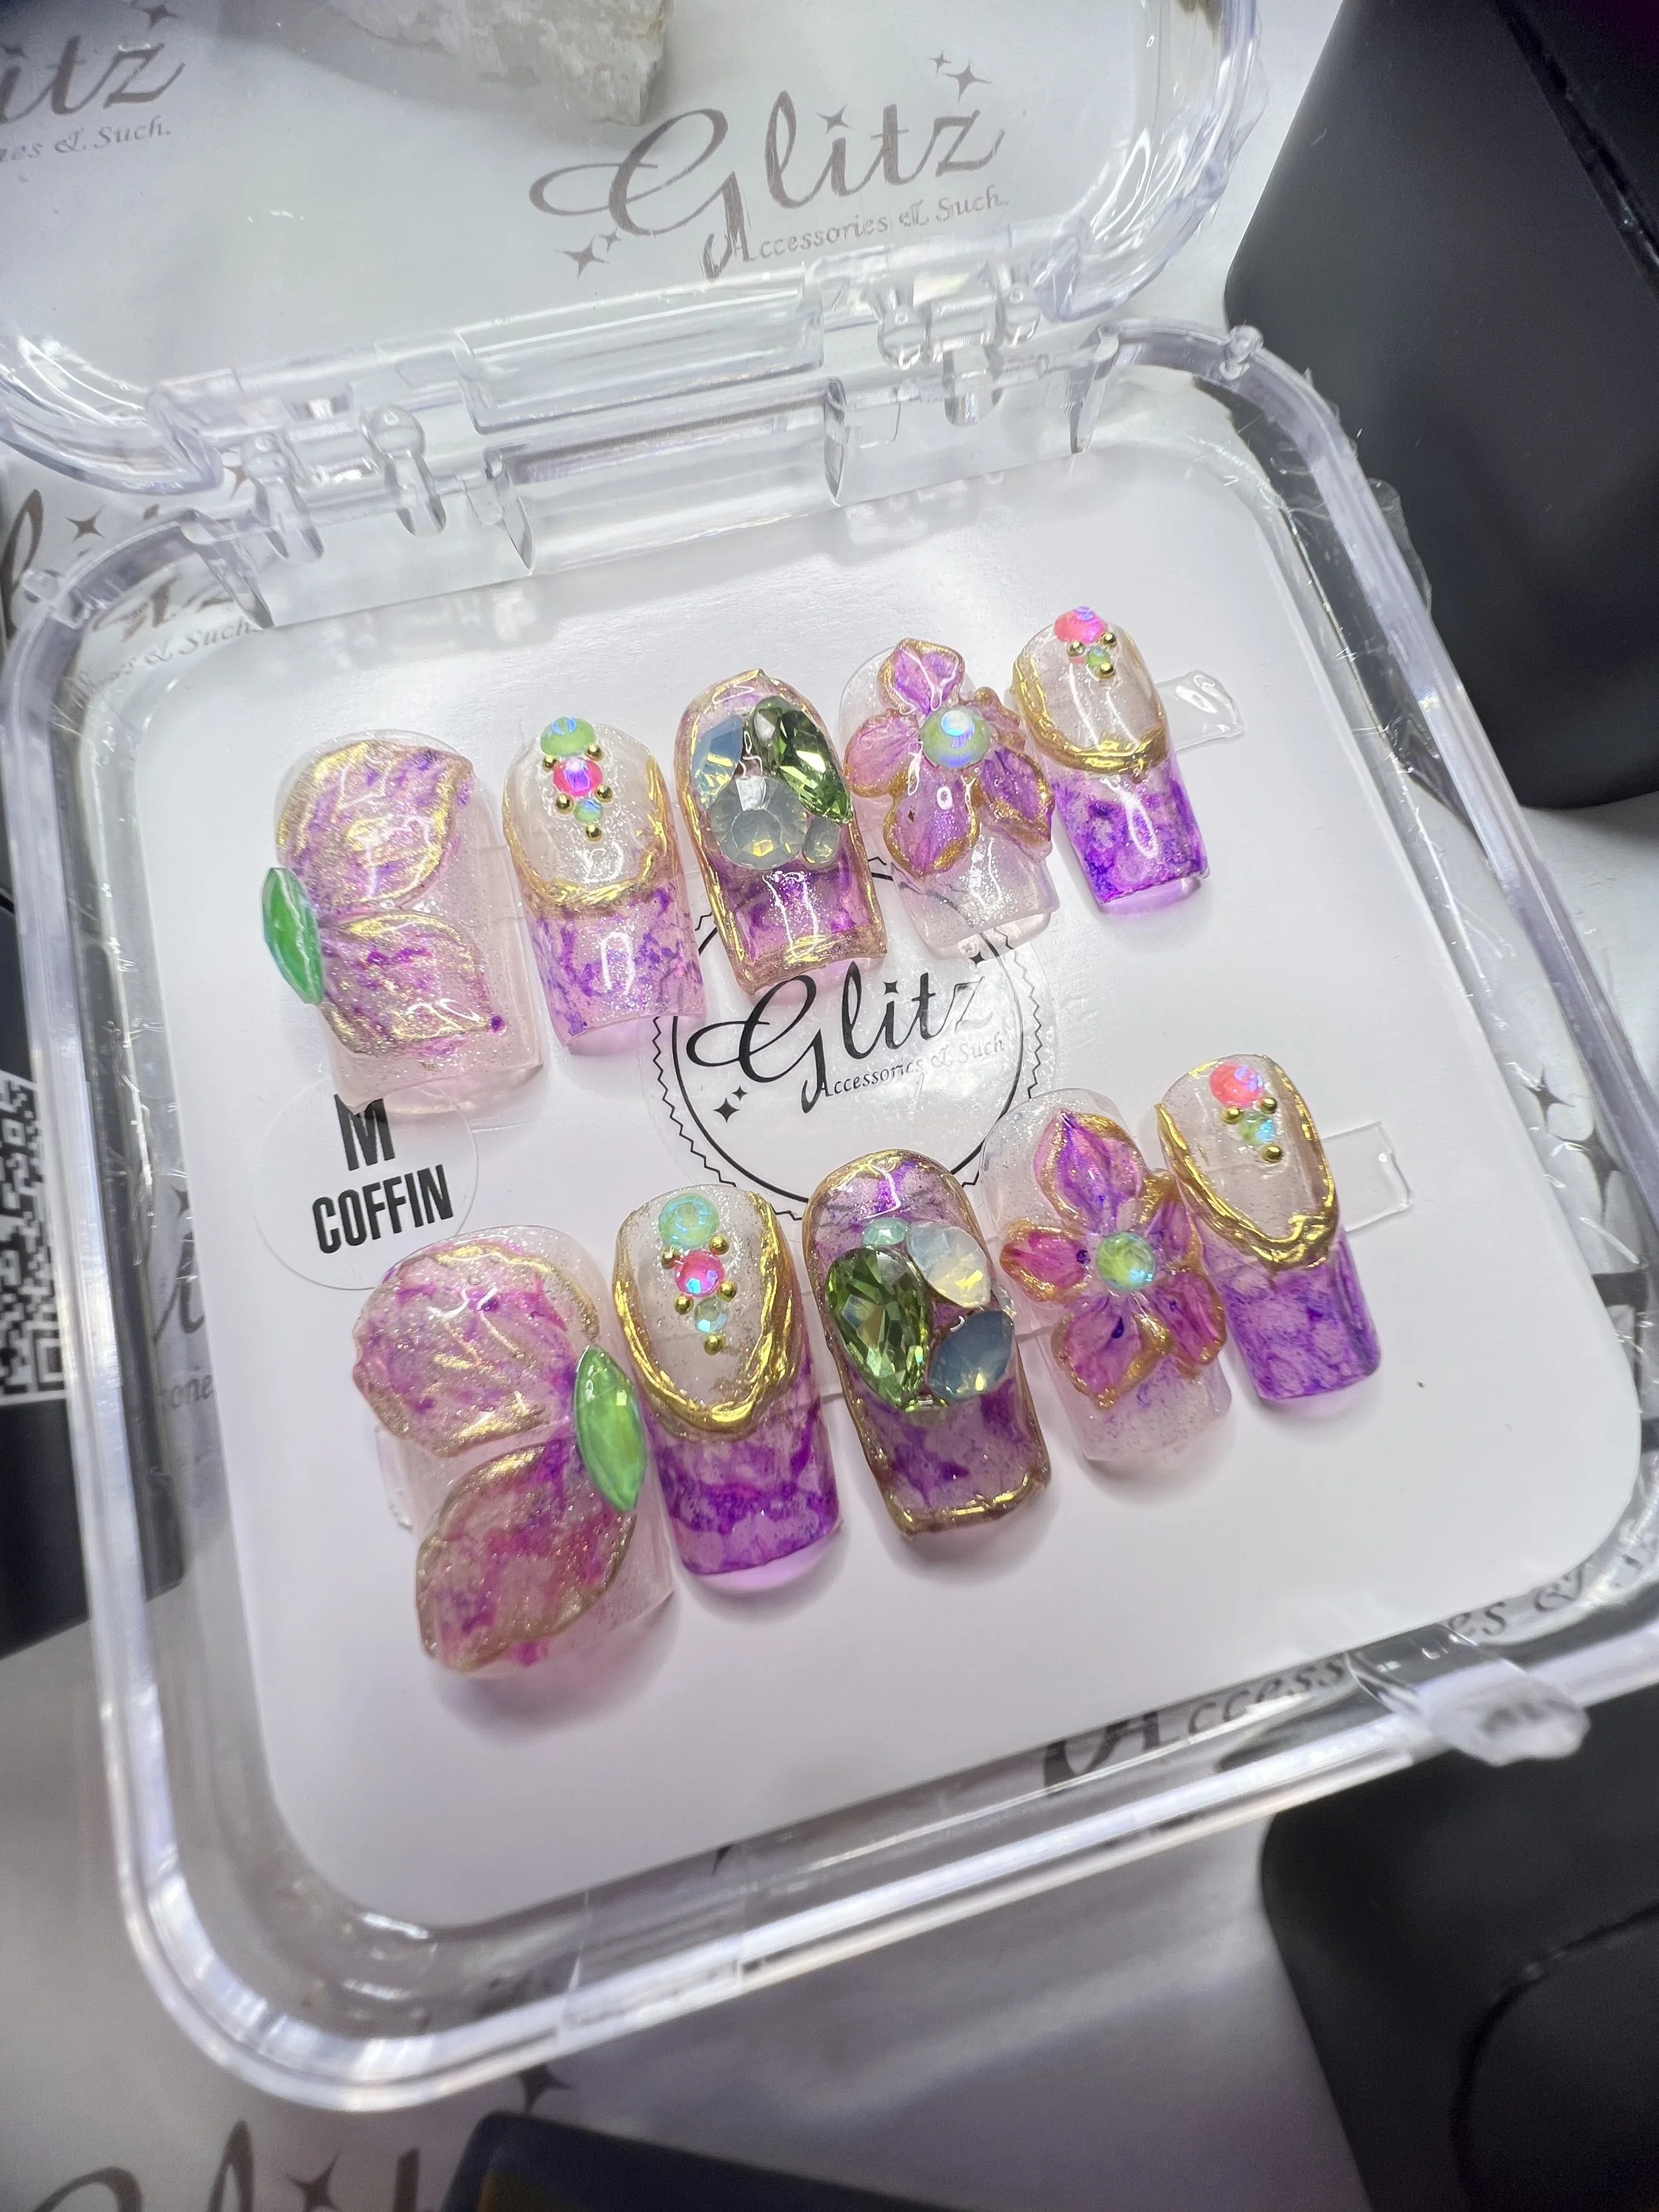
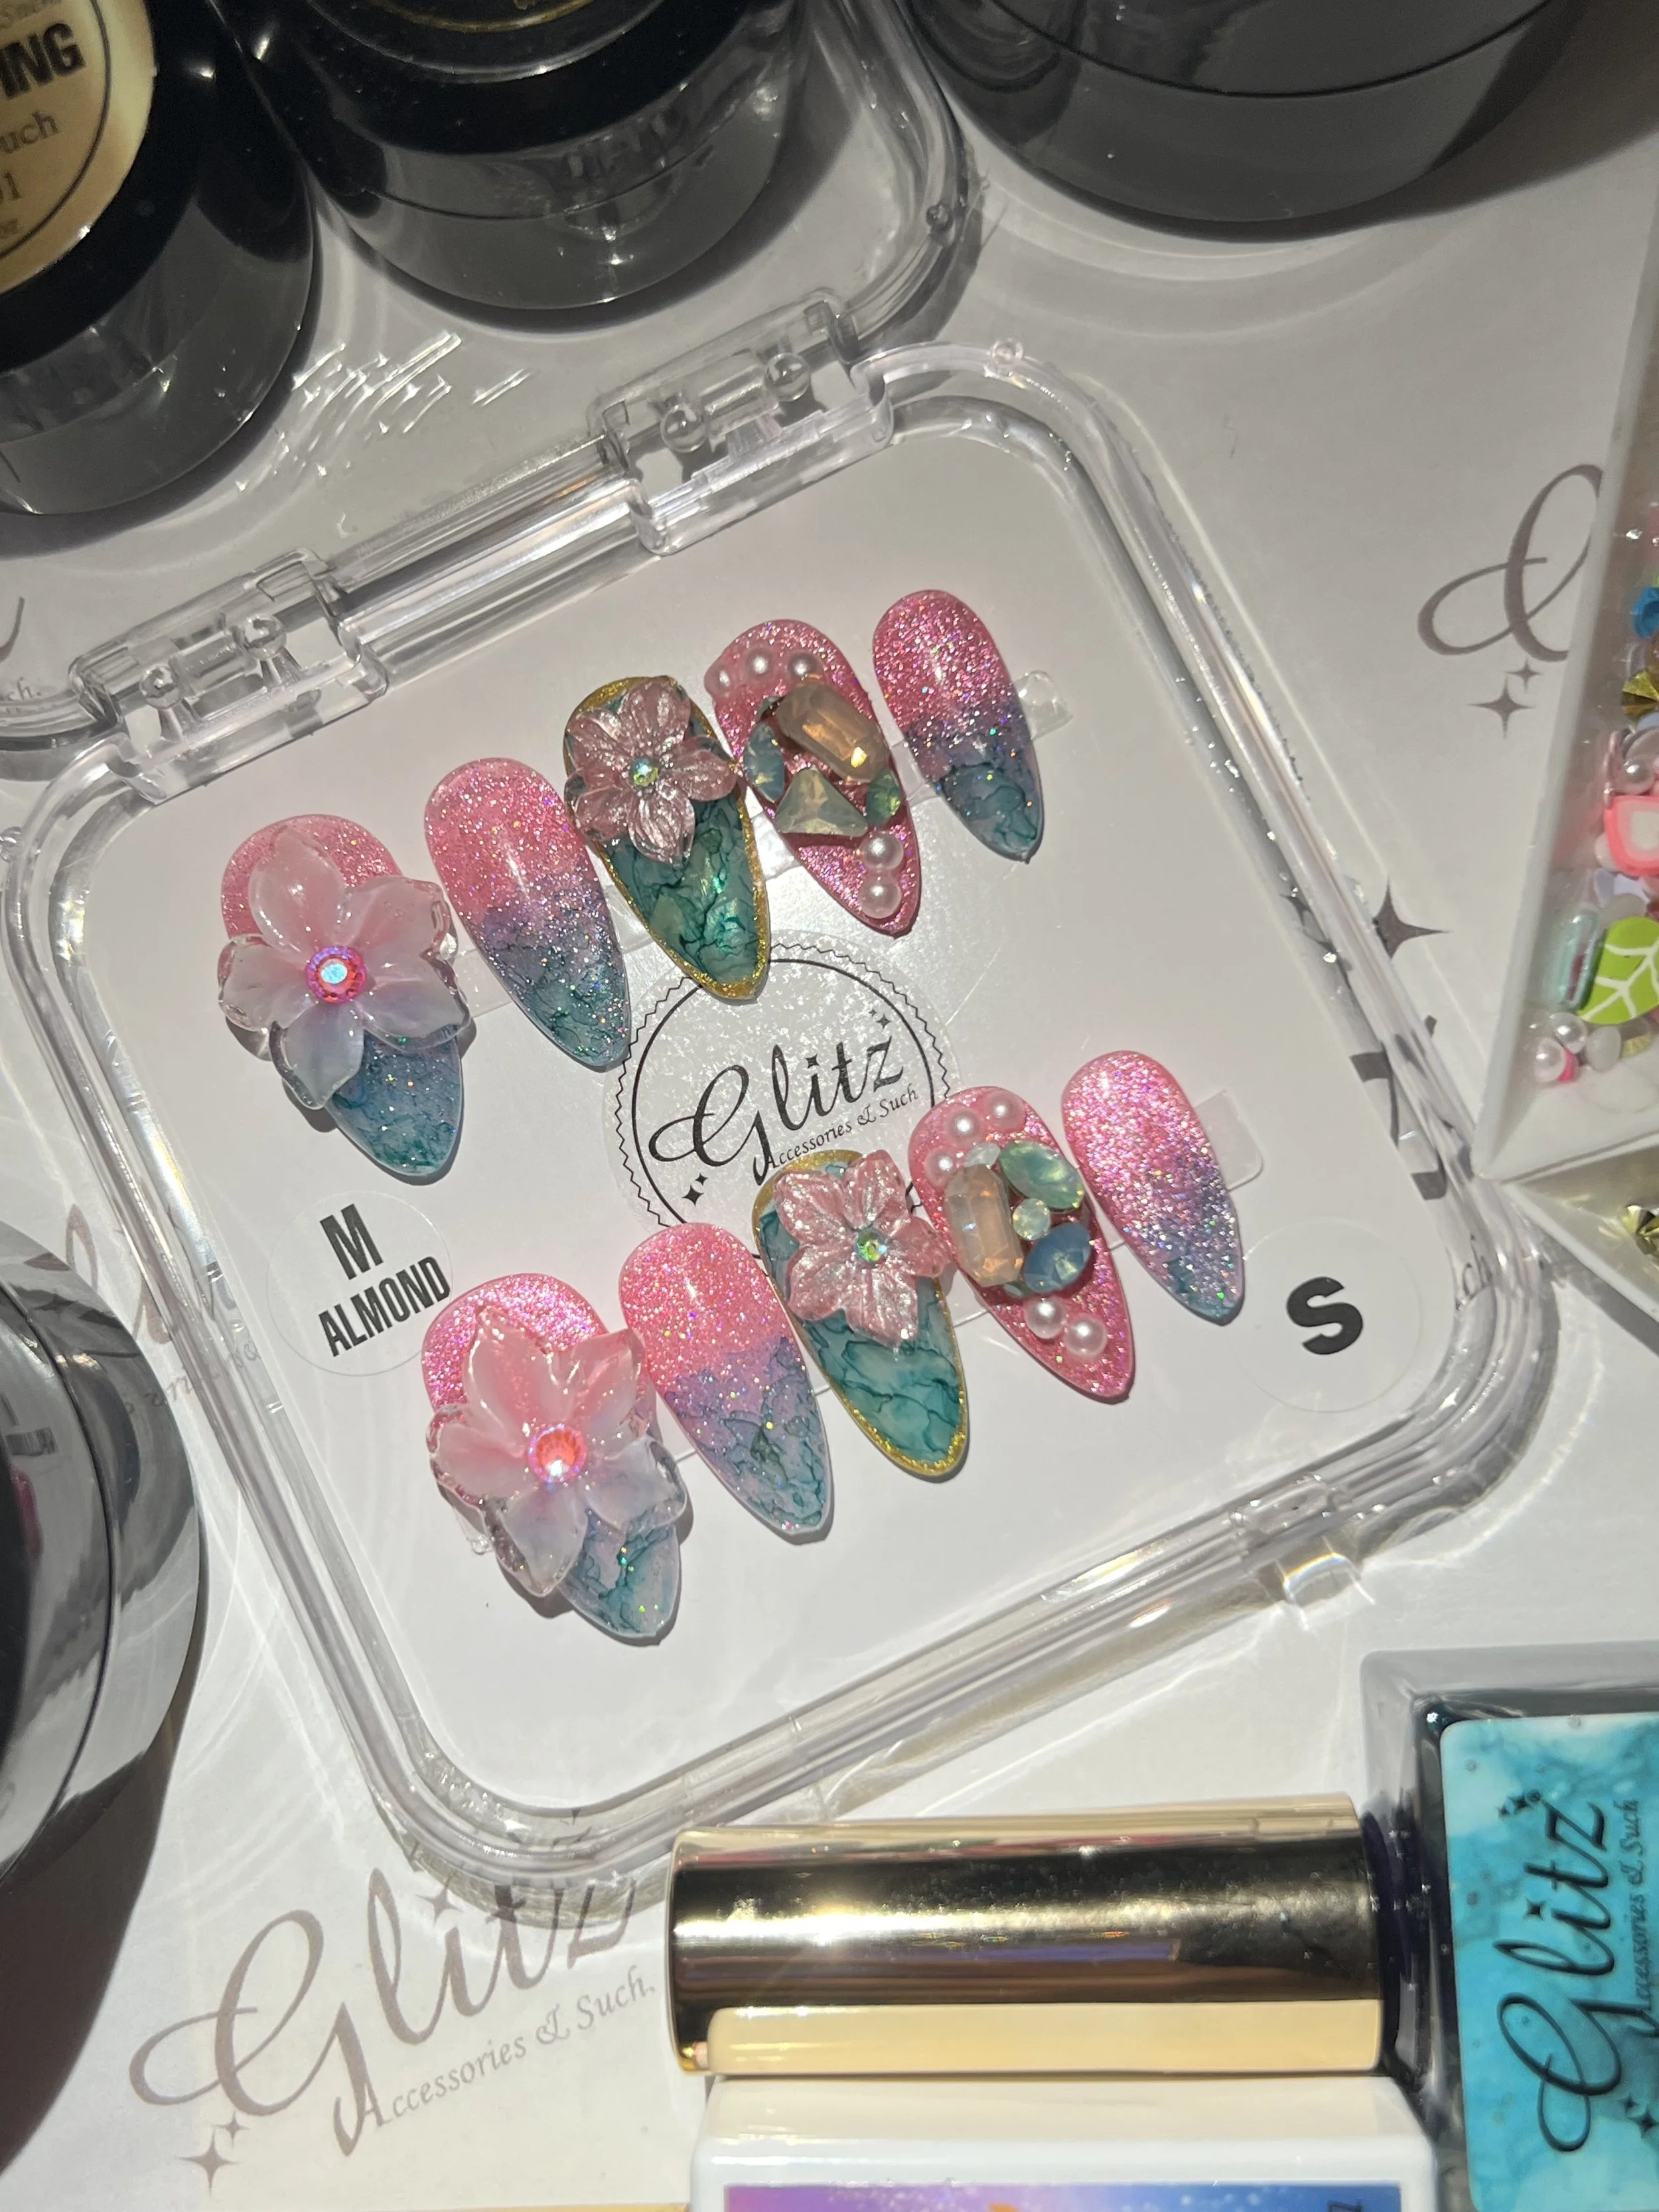
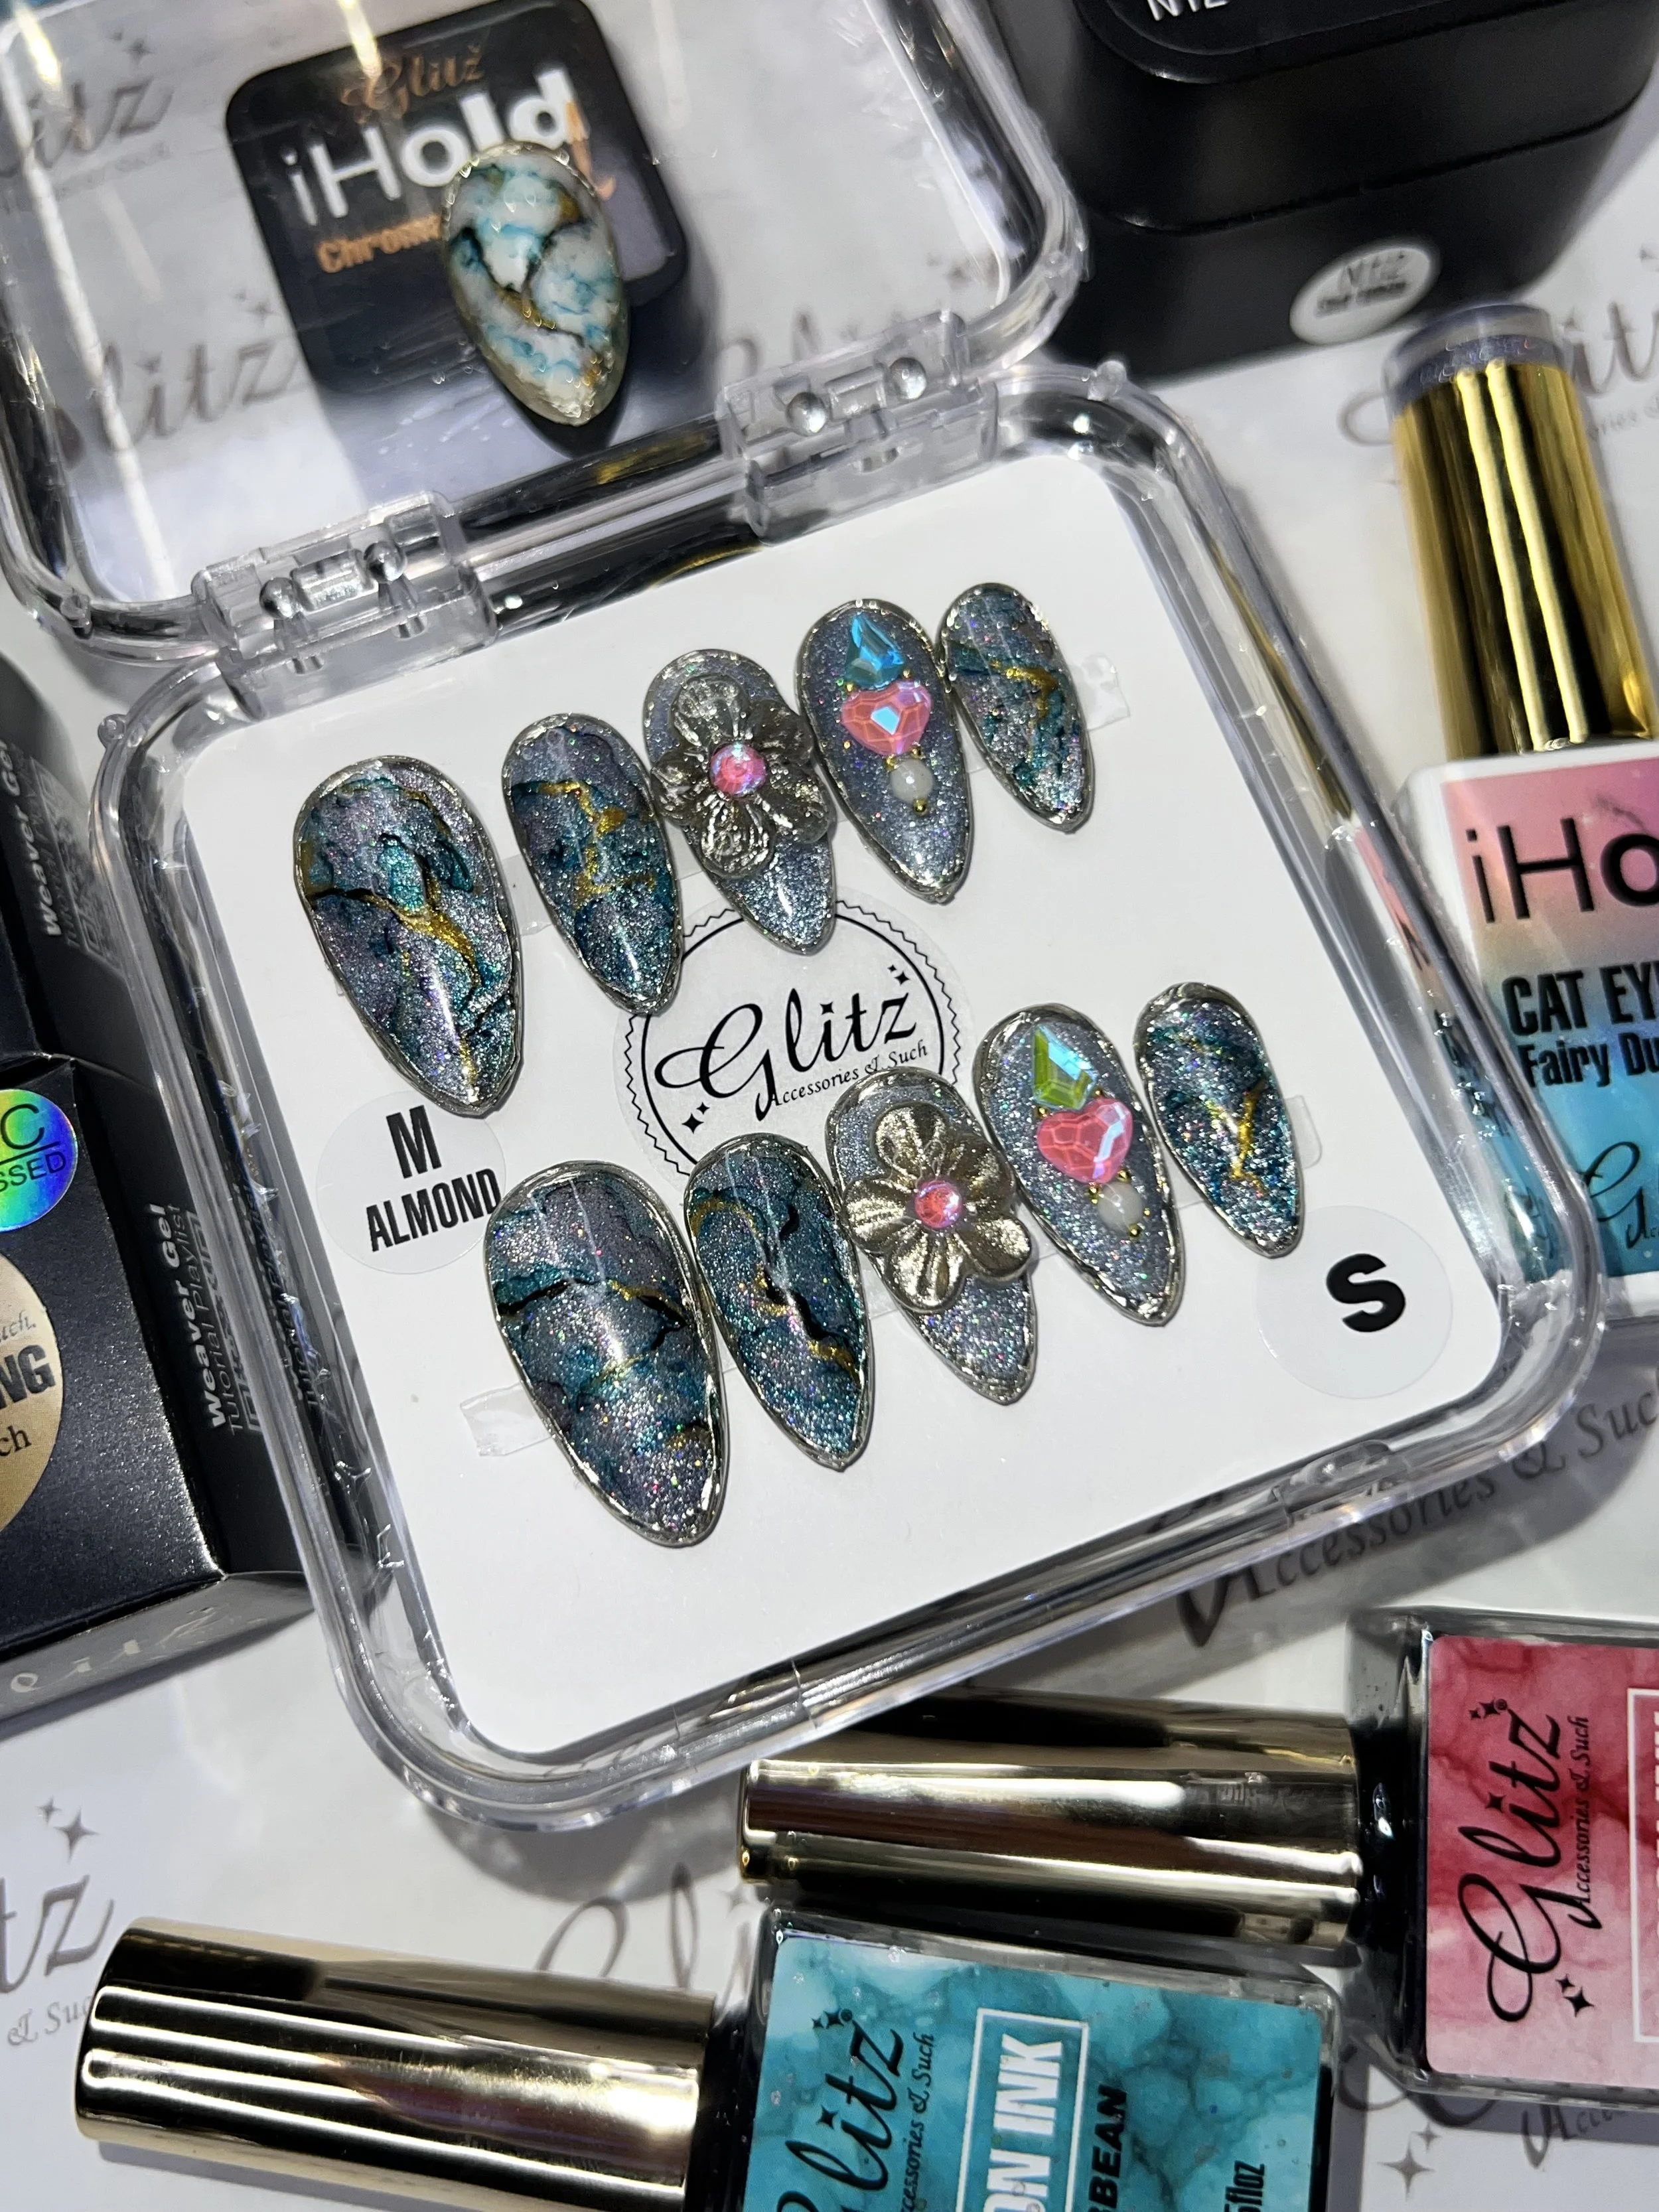
🌸 3D Molding Flowers & Sculpted Nail Art
💎 3D Pointed-Back Crystal & Charm Application
🌈 Chrome Nail Art Effects
Why You’ll Love It
✔ Crystal-clear finish
✔ Tack-free formula after curing
✔ Strong crystal and charm adhesion
✔ Lightweight yet durable for gel extensions
✔ Easy to mold and sculpt
✔ Smooth surface ideal for chrome application
✔ Beginner-friendly and professional-approved
✔ TPO & HEMA Free
Key Features
✨ Gel Tip Extension Ready
Provides a lightweight yet strong bond for long-lasting gel extensions while helping prevent crooked tip placement during application.
🌸 Create Stunning 3D Nail Art
Easily sculpt flowers, bows, petals, hearts, and custom 3D designs with complete control.
💎 Strong Crystal & Charm Adhesion
Works like an extra-strength condensed glue gel to securely hold 3D crystal clusters, pointed-back crystals, rhinestones, and nail charms.
🌈 Perfect for Chrome Designs
Cures with a smooth surface that creates a beautiful chrome effect when paired with chrome powder.
How To Use
GEL TIP EXTENSION
Step 1: Nail Preparation
• Perform a dry manicure to remove cuticles and surface oils.
• Clean nails with pure acetone and a lint-free wipe.
• Size nail tips from sidewall to sidewall.
Step 2: Prime & Base
• Apply Primer to natural nails & inside the gel tip well
• Apply a thin layer of Base Gel to the natural nail and cure for 10-30 seconds.
• Apply Base Gel inside the well of the gel tip and cure for 10-30 seconds.
Step 3: Apply Omega Gel
• Scoop an appropriate amount of Omega Gel into the gel tip well. Spread evenly as needed using a 3D Molding Brush or Spatula.
• Position the tip near the cuticle at a 45° angle and gently press down to eliminate air bubbles.
⭐ Unlike traditional runny glue gel, Omega Gel's solid consistency allows you to briefly release pressure and check the placement before curing. If the tip shifts, sits crooked, or needs adjustment, simply reposition it before flash curing. This gives you greater control and helps create straighter, more precise gel extensions.
• Once satisfied with the placement, flash cure for 10–30 seconds.
Step 4: Final Cure
• After completing all fingers, cure for 60 seconds.
3D MOLDING & CARVING NAIL ART
Step 1: Separate Omega Gel into small portions.
Step 2: Roll into beads.
Step 3: Place beads onto the nail and sculpt into your desired design.
Step 4: Cure for 60 seconds.
CHROME MIRROR EFFECT NAIL ART
Step 1: Create your 3D design using Omega Gel.
Step 2: Cure for 20–30 seconds.
Step 3: Rub chrome powder onto the cured design.
Step 4: Apply Base Gel and cure for 30 seconds.
Step 5: Finish with No Wipe Top Coat and cure for 60 seconds.
3D CRYSTAL & NAIL CHARM ADHESION
Step 1: Apply a small bead of Omega Gel where the crystal cluster or charm will be placed.
Step 2: Position your 3D crystals or charms, creating your desired arrangement.
Step 3: Add smaller crystals around the base to fill gaps and enhance the design.
Step 4: Cure for 60 seconds.
Pro Tip from Glitz 💖
For maximum crystal retention, fully encapsulate the base of larger crystals and charms with Omega Gel before curing. This creates exceptional hold while keeping your design clean and elegant.
iHold Omega Gel – Clear
Net Wt. 30ml / 1 fl oz
One Gel. Endless Possibilities. ✨
iHold Omega Gel – Clear is a crystal-clear, solid gel designed for multiple nail techniques in one jar. Its unique non-sticky, tack-free, TPO & HEMA Free formula • UV/LED Curable • Crystal Clear Finish
Perfect For:
💎 Gel Tip Extensions
🌸 3D Molding Flowers & Sculpted Nail Art
💎 3D Pointed-Back Crystal & Charm Application
🌈 Chrome Nail Art Effects
Why You’ll Love It
✔ Crystal-clear finish
✔ Tack-free formula after curing
✔ Strong crystal and charm adhesion
✔ Lightweight yet durable for gel extensions
✔ Easy to mold and sculpt
✔ Smooth surface ideal for chrome application
✔ Beginner-friendly and professional-approved
✔ TPO & HEMA Free
Key Features
✨ Gel Tip Extension Ready
Provides a lightweight yet strong bond for long-lasting gel extensions while helping prevent crooked tip placement during application.
🌸 Create Stunning 3D Nail Art
Easily sculpt flowers, bows, petals, hearts, and custom 3D designs with complete control.
💎 Strong Crystal & Charm Adhesion
Works like an extra-strength condensed glue gel to securely hold 3D crystal clusters, pointed-back crystals, rhinestones, and nail charms.
🌈 Perfect for Chrome Designs
Cures with a smooth surface that creates a beautiful chrome effect when paired with chrome powder.
How To Use
GEL TIP EXTENSION
Step 1: Nail Preparation
• Perform a dry manicure to remove cuticles and surface oils.
• Clean nails with pure acetone and a lint-free wipe.
• Size nail tips from sidewall to sidewall.
Step 2: Prime & Base
• Apply Primer to natural nails & inside the gel tip well
• Apply a thin layer of Base Gel to the natural nail and cure for 10-30 seconds.
• Apply Base Gel inside the well of the gel tip and cure for 10-30 seconds.
Step 3: Apply Omega Gel
• Scoop an appropriate amount of Omega Gel into the gel tip well. Spread evenly as needed using a 3D Molding Brush or Spatula.
• Position the tip near the cuticle at a 45° angle and gently press down to eliminate air bubbles.
⭐ Unlike traditional runny glue gel, Omega Gel's solid consistency allows you to briefly release pressure and check the placement before curing. If the tip shifts, sits crooked, or needs adjustment, simply reposition it before flash curing. This gives you greater control and helps create straighter, more precise gel extensions.
• Once satisfied with the placement, flash cure for 10–30 seconds.
Step 4: Final Cure
• After completing all fingers, cure for 60 seconds.
3D MOLDING & CARVING NAIL ART
Step 1: Separate Omega Gel into small portions.
Step 2: Roll into beads.
Step 3: Place beads onto the nail and sculpt into your desired design.
Step 4: Cure for 60 seconds.
CHROME MIRROR EFFECT NAIL ART
Step 1: Create your 3D design using Omega Gel.
Step 2: Cure for 20–30 seconds.
Step 3: Rub chrome powder onto the cured design.
Step 4: Apply Base Gel and cure for 30 seconds.
Step 5: Finish with No Wipe Top Coat and cure for 60 seconds.
3D CRYSTAL & NAIL CHARM ADHESION
Step 1: Apply a small bead of Omega Gel where the crystal cluster or charm will be placed.
Step 2: Position your 3D crystals or charms, creating your desired arrangement.
Step 3: Add smaller crystals around the base to fill gaps and enhance the design.
Step 4: Cure for 60 seconds.
Pro Tip from Glitz 💖
For maximum crystal retention, fully encapsulate the base of larger crystals and charms with Omega Gel before curing. This creates exceptional hold while keeping your design clean and elegant.
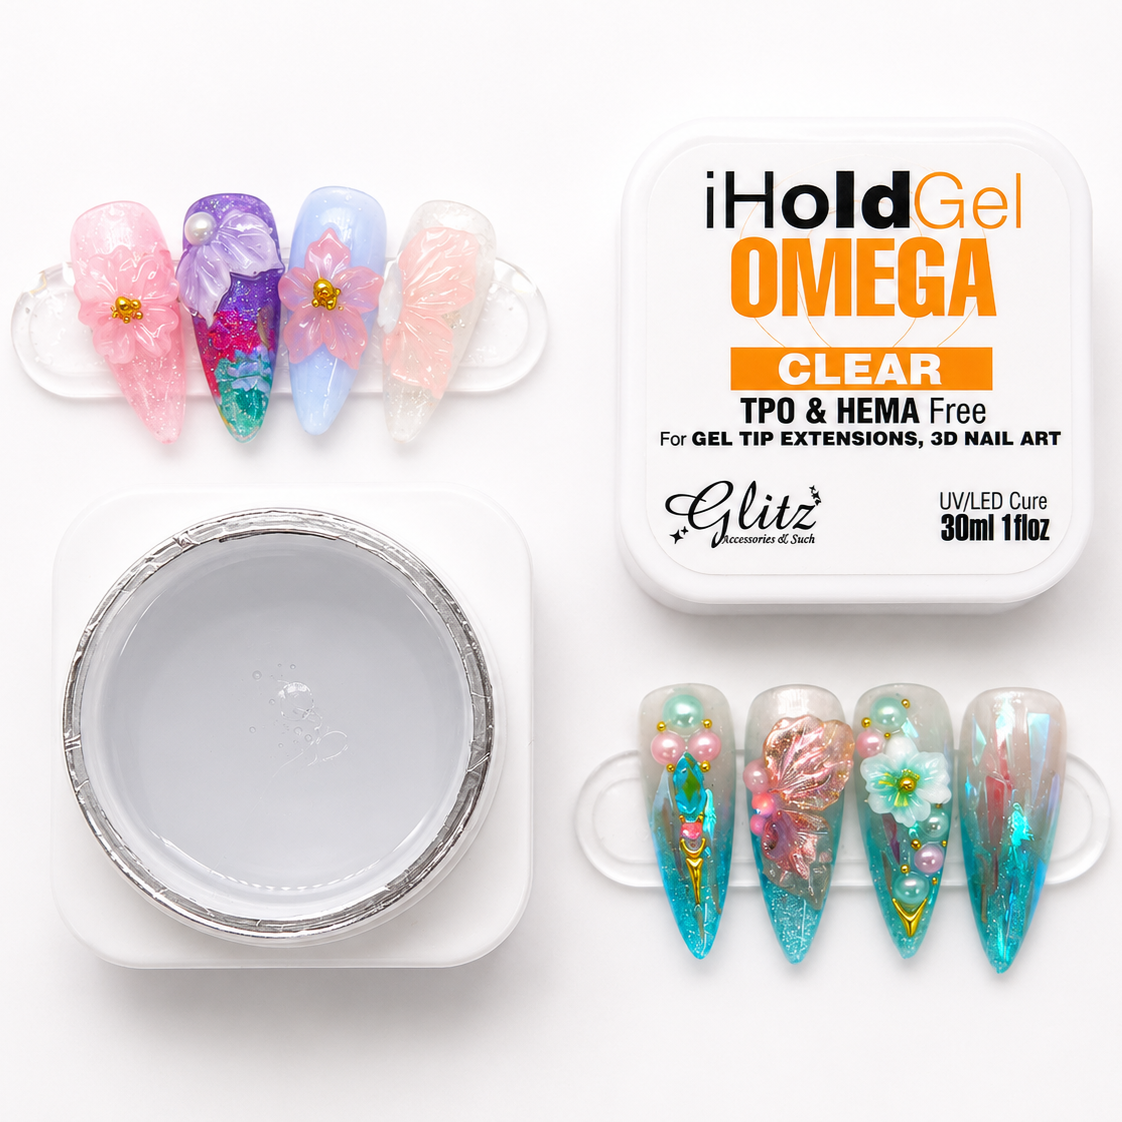 Image 1 of 8
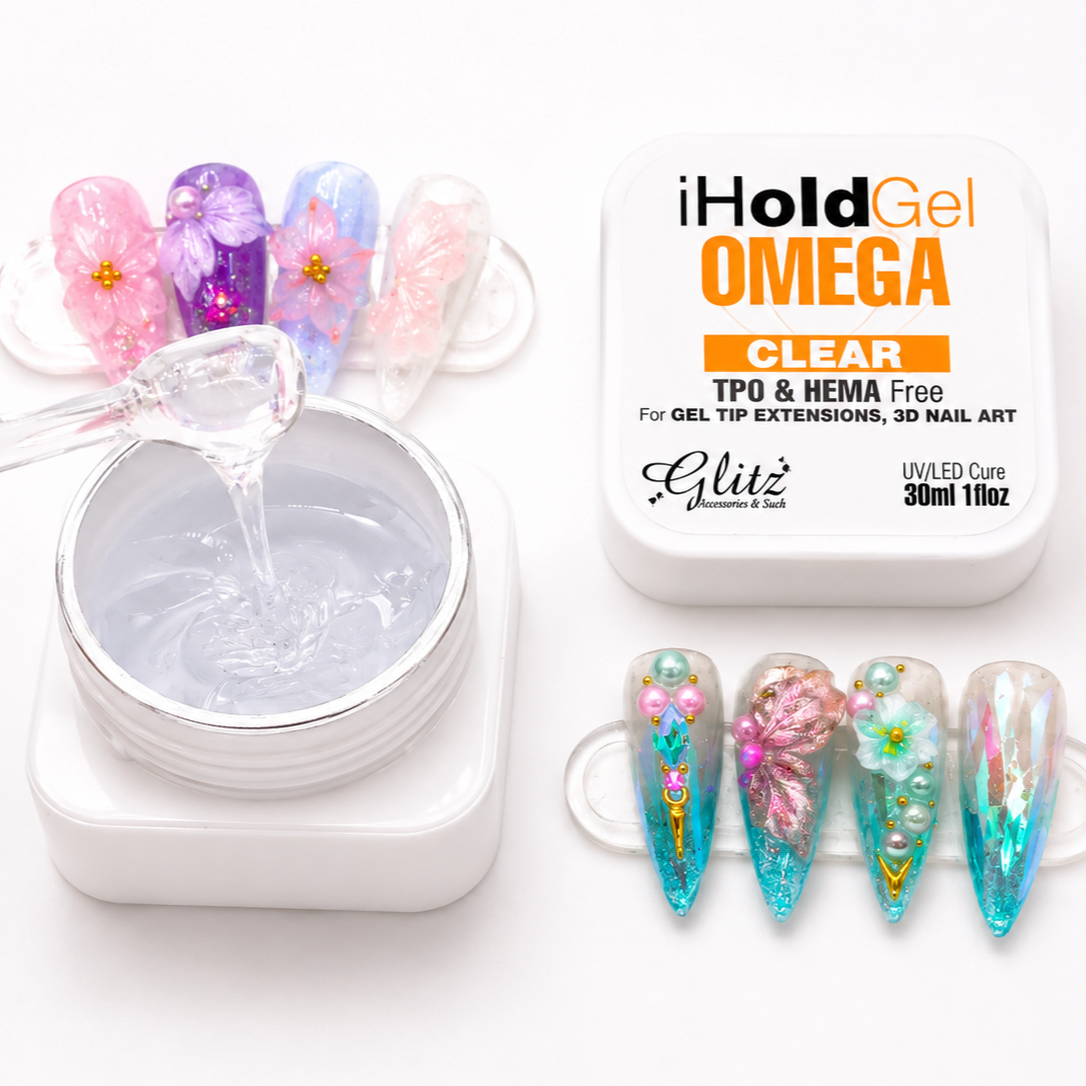 Image 2 of 8
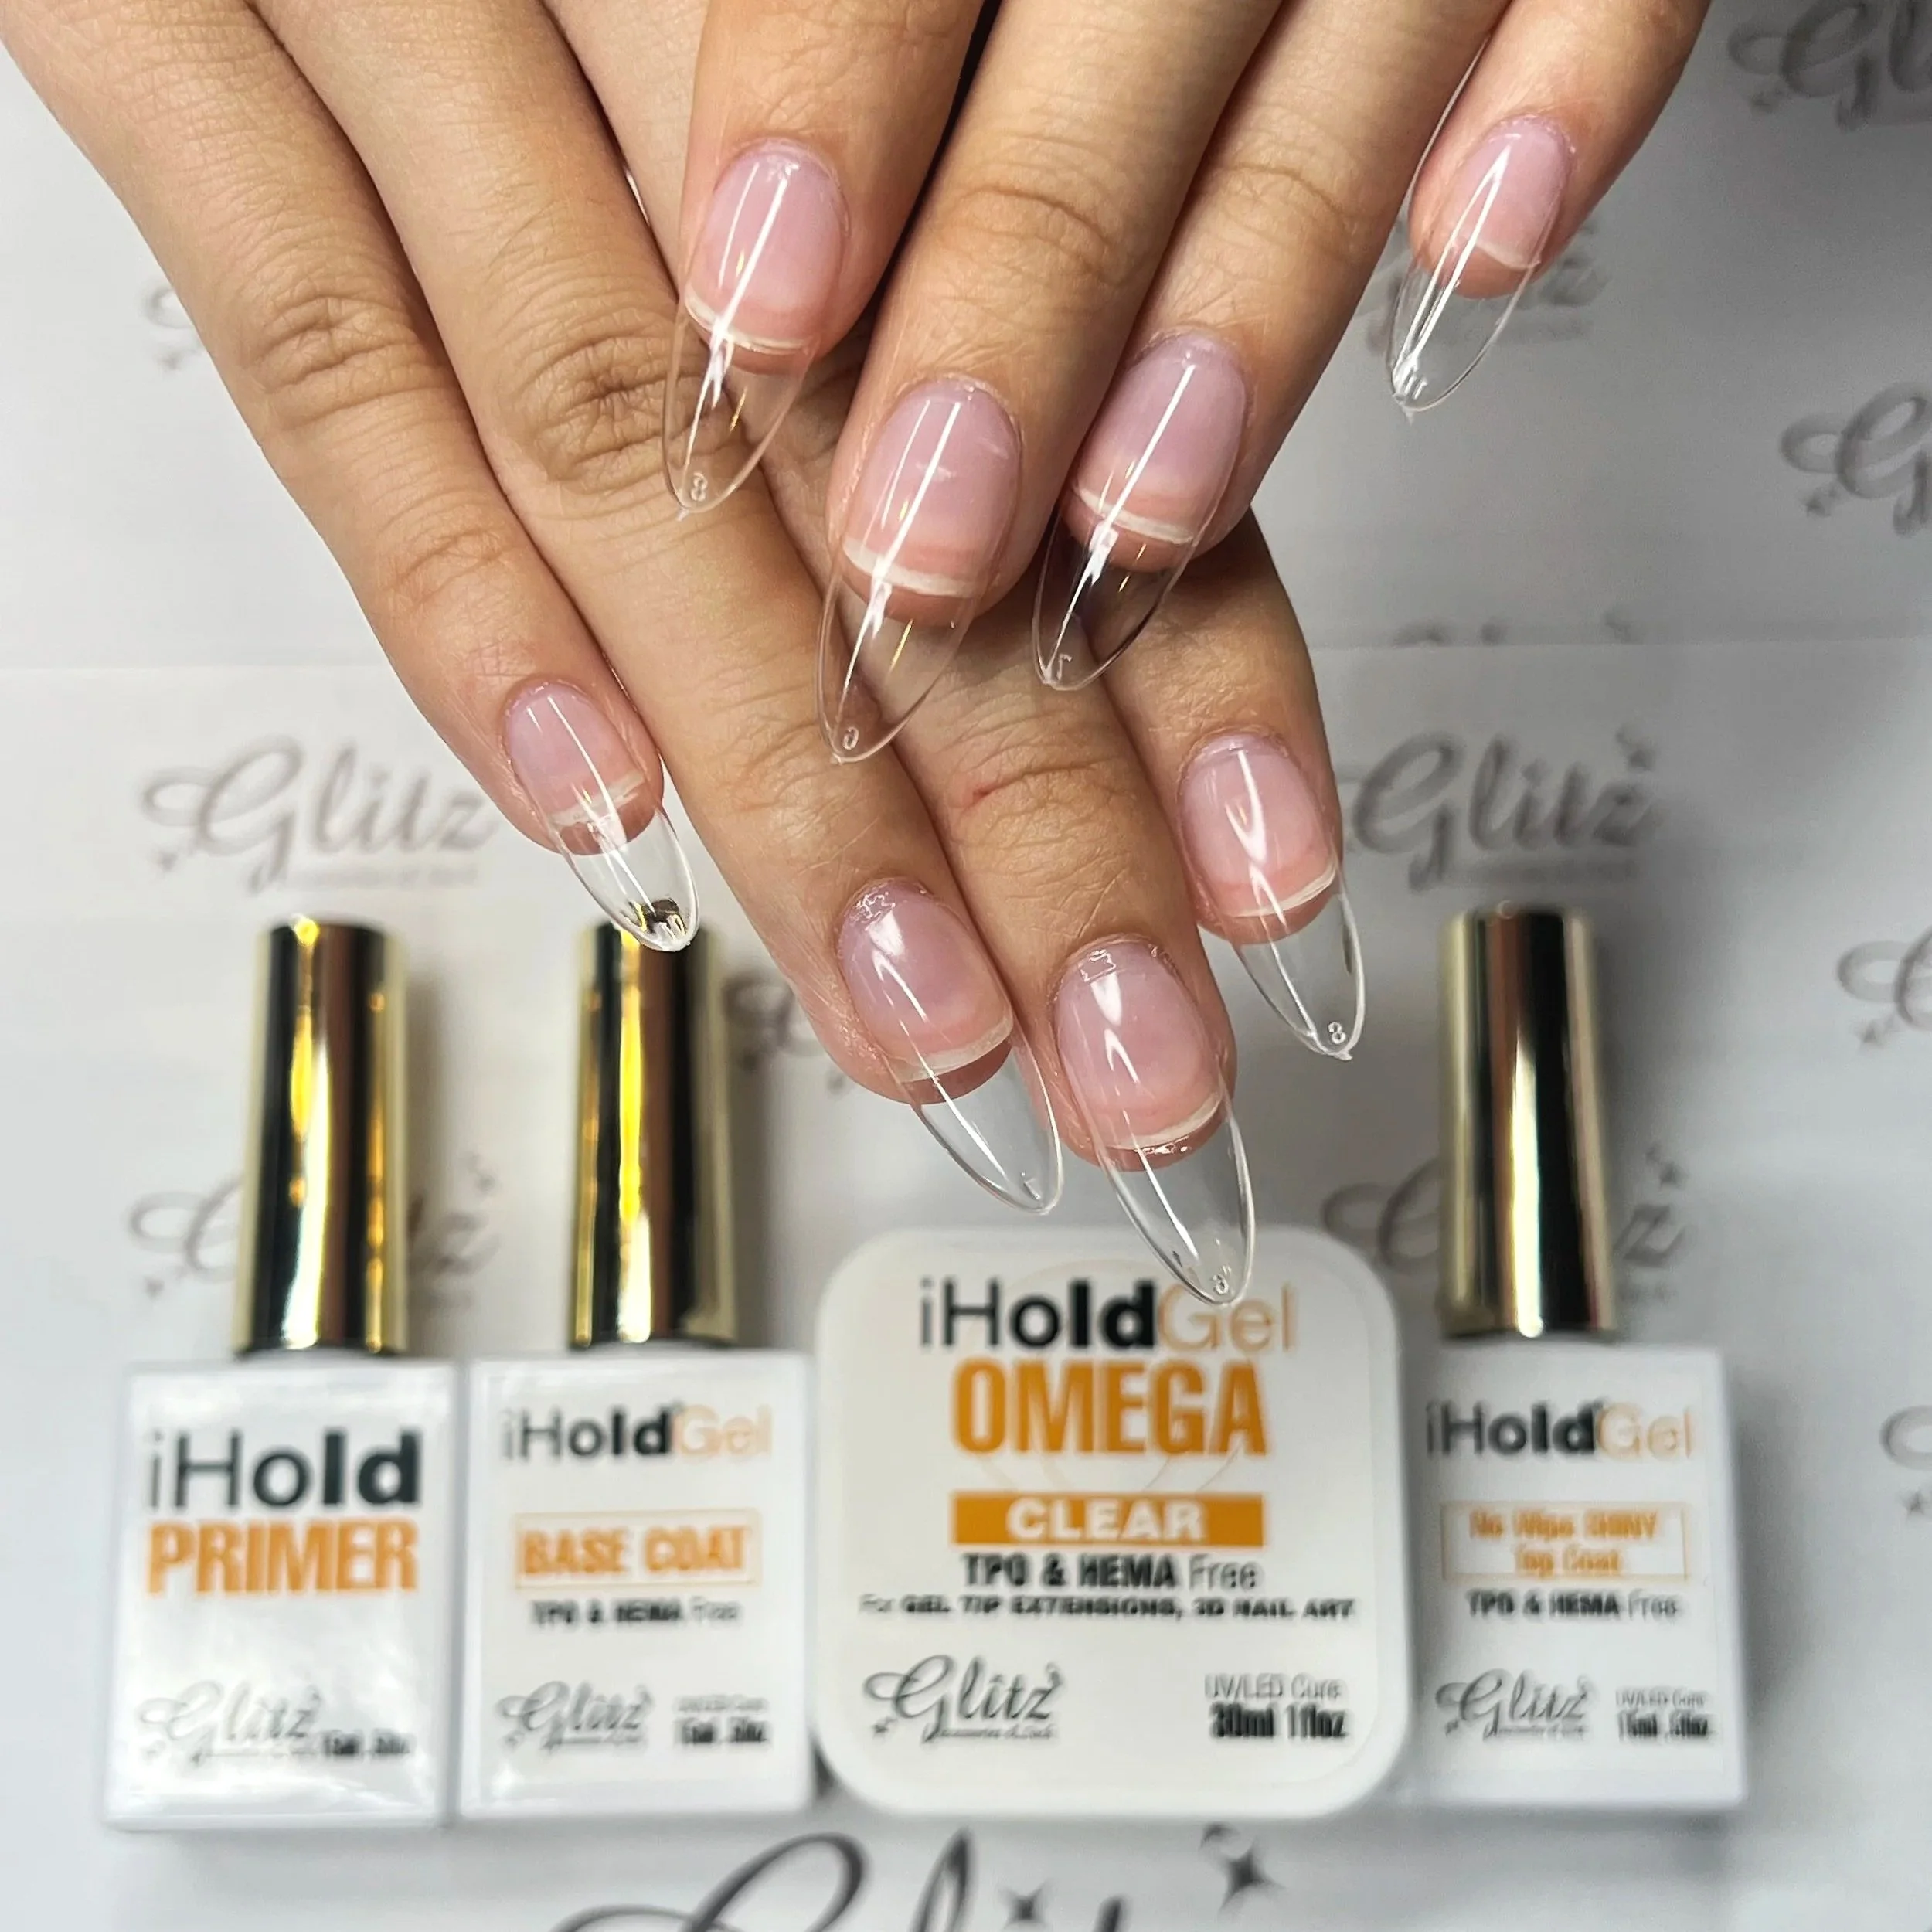 Image 3 of 8
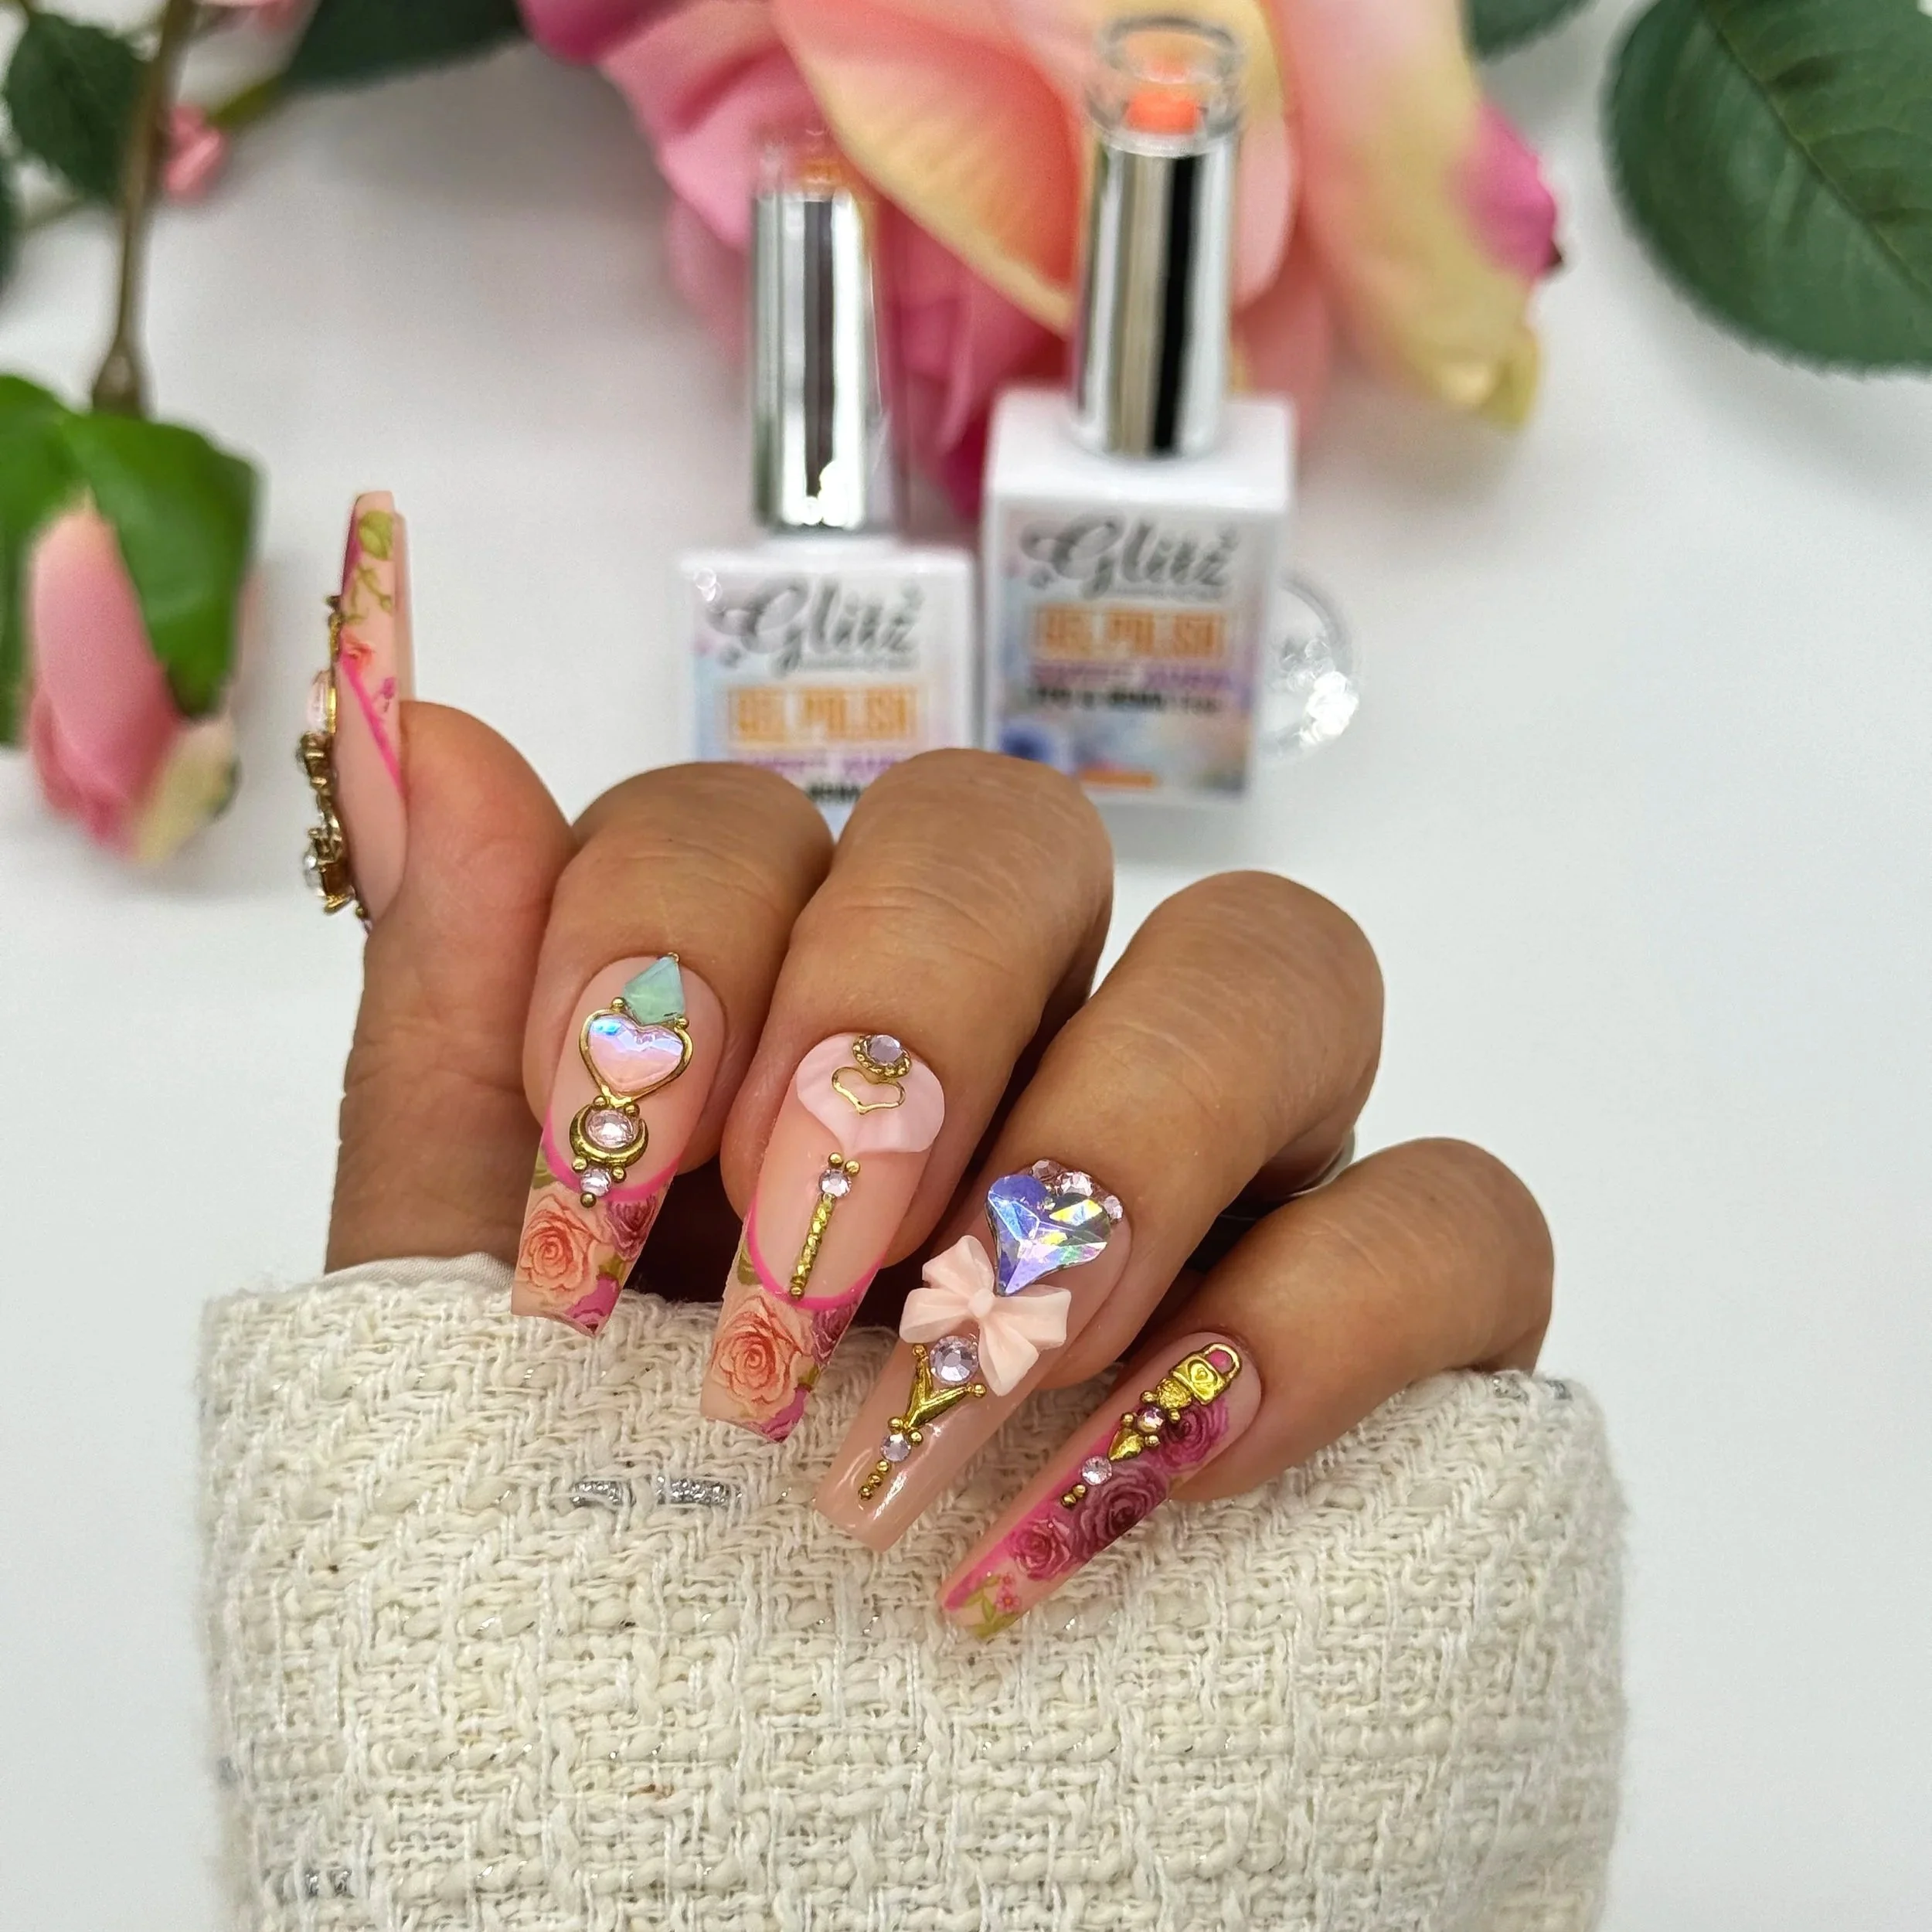 Image 4 of 8
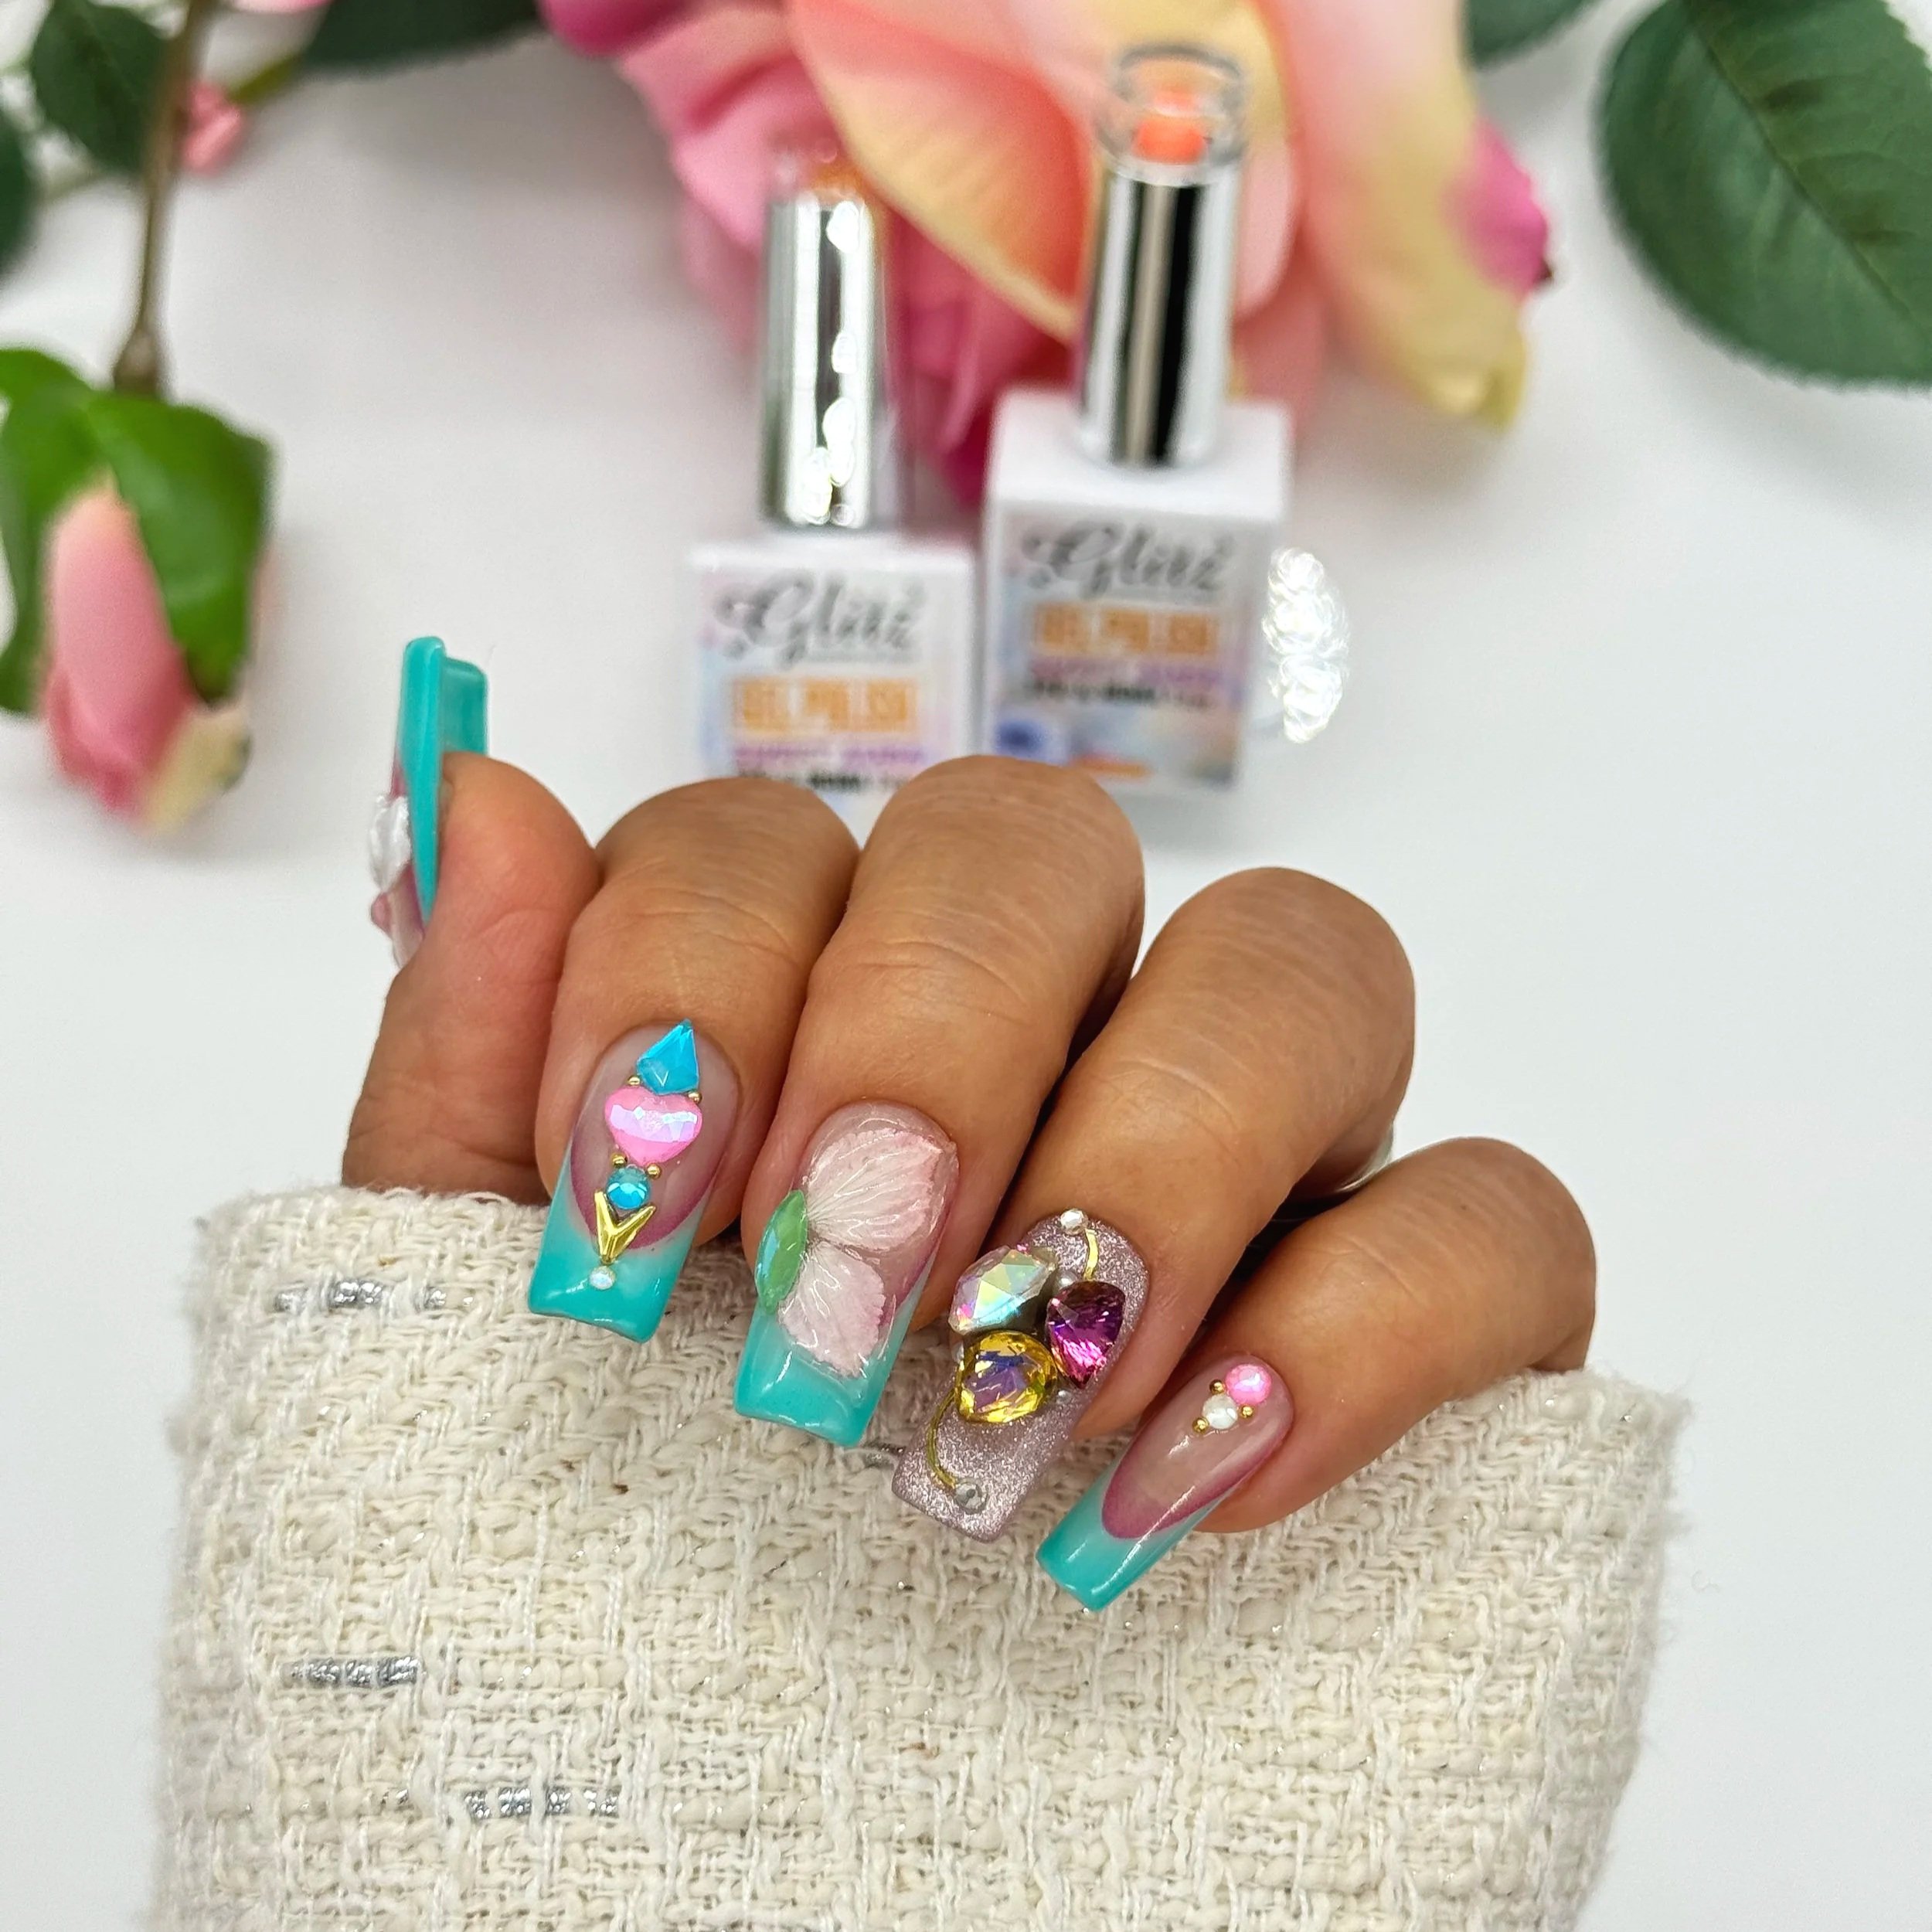 Image 5 of 8
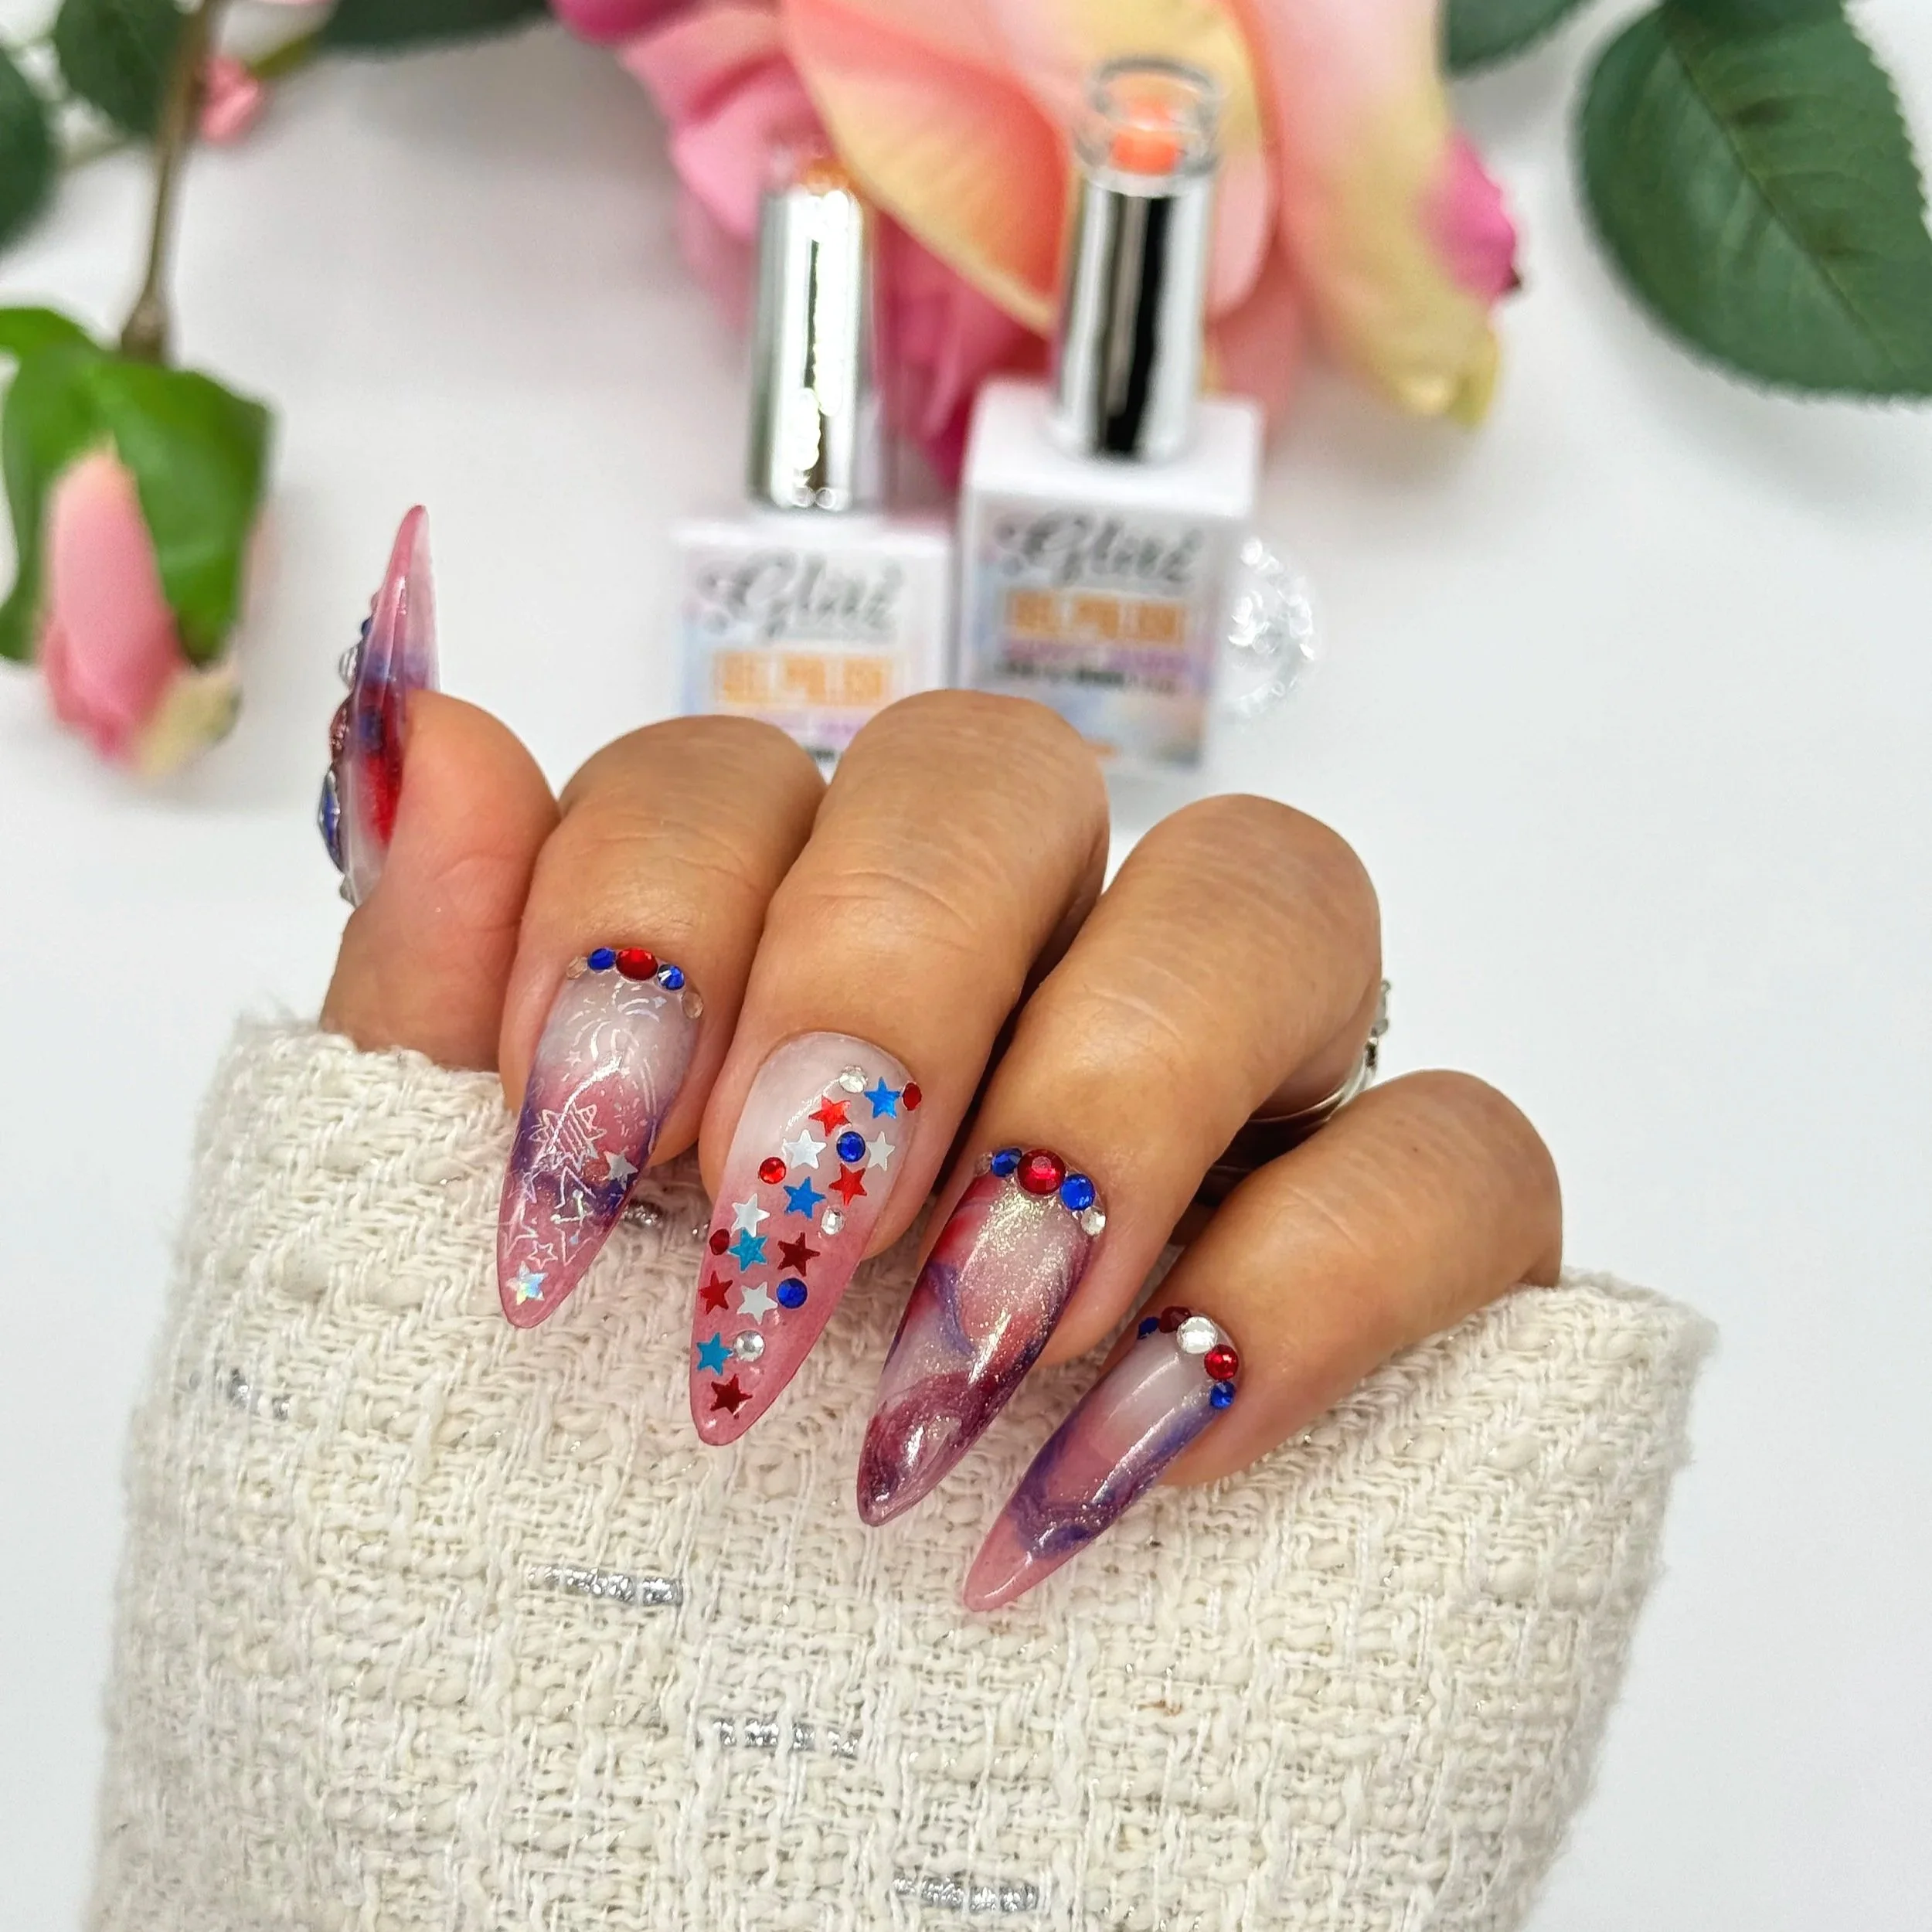 Image 6 of 8
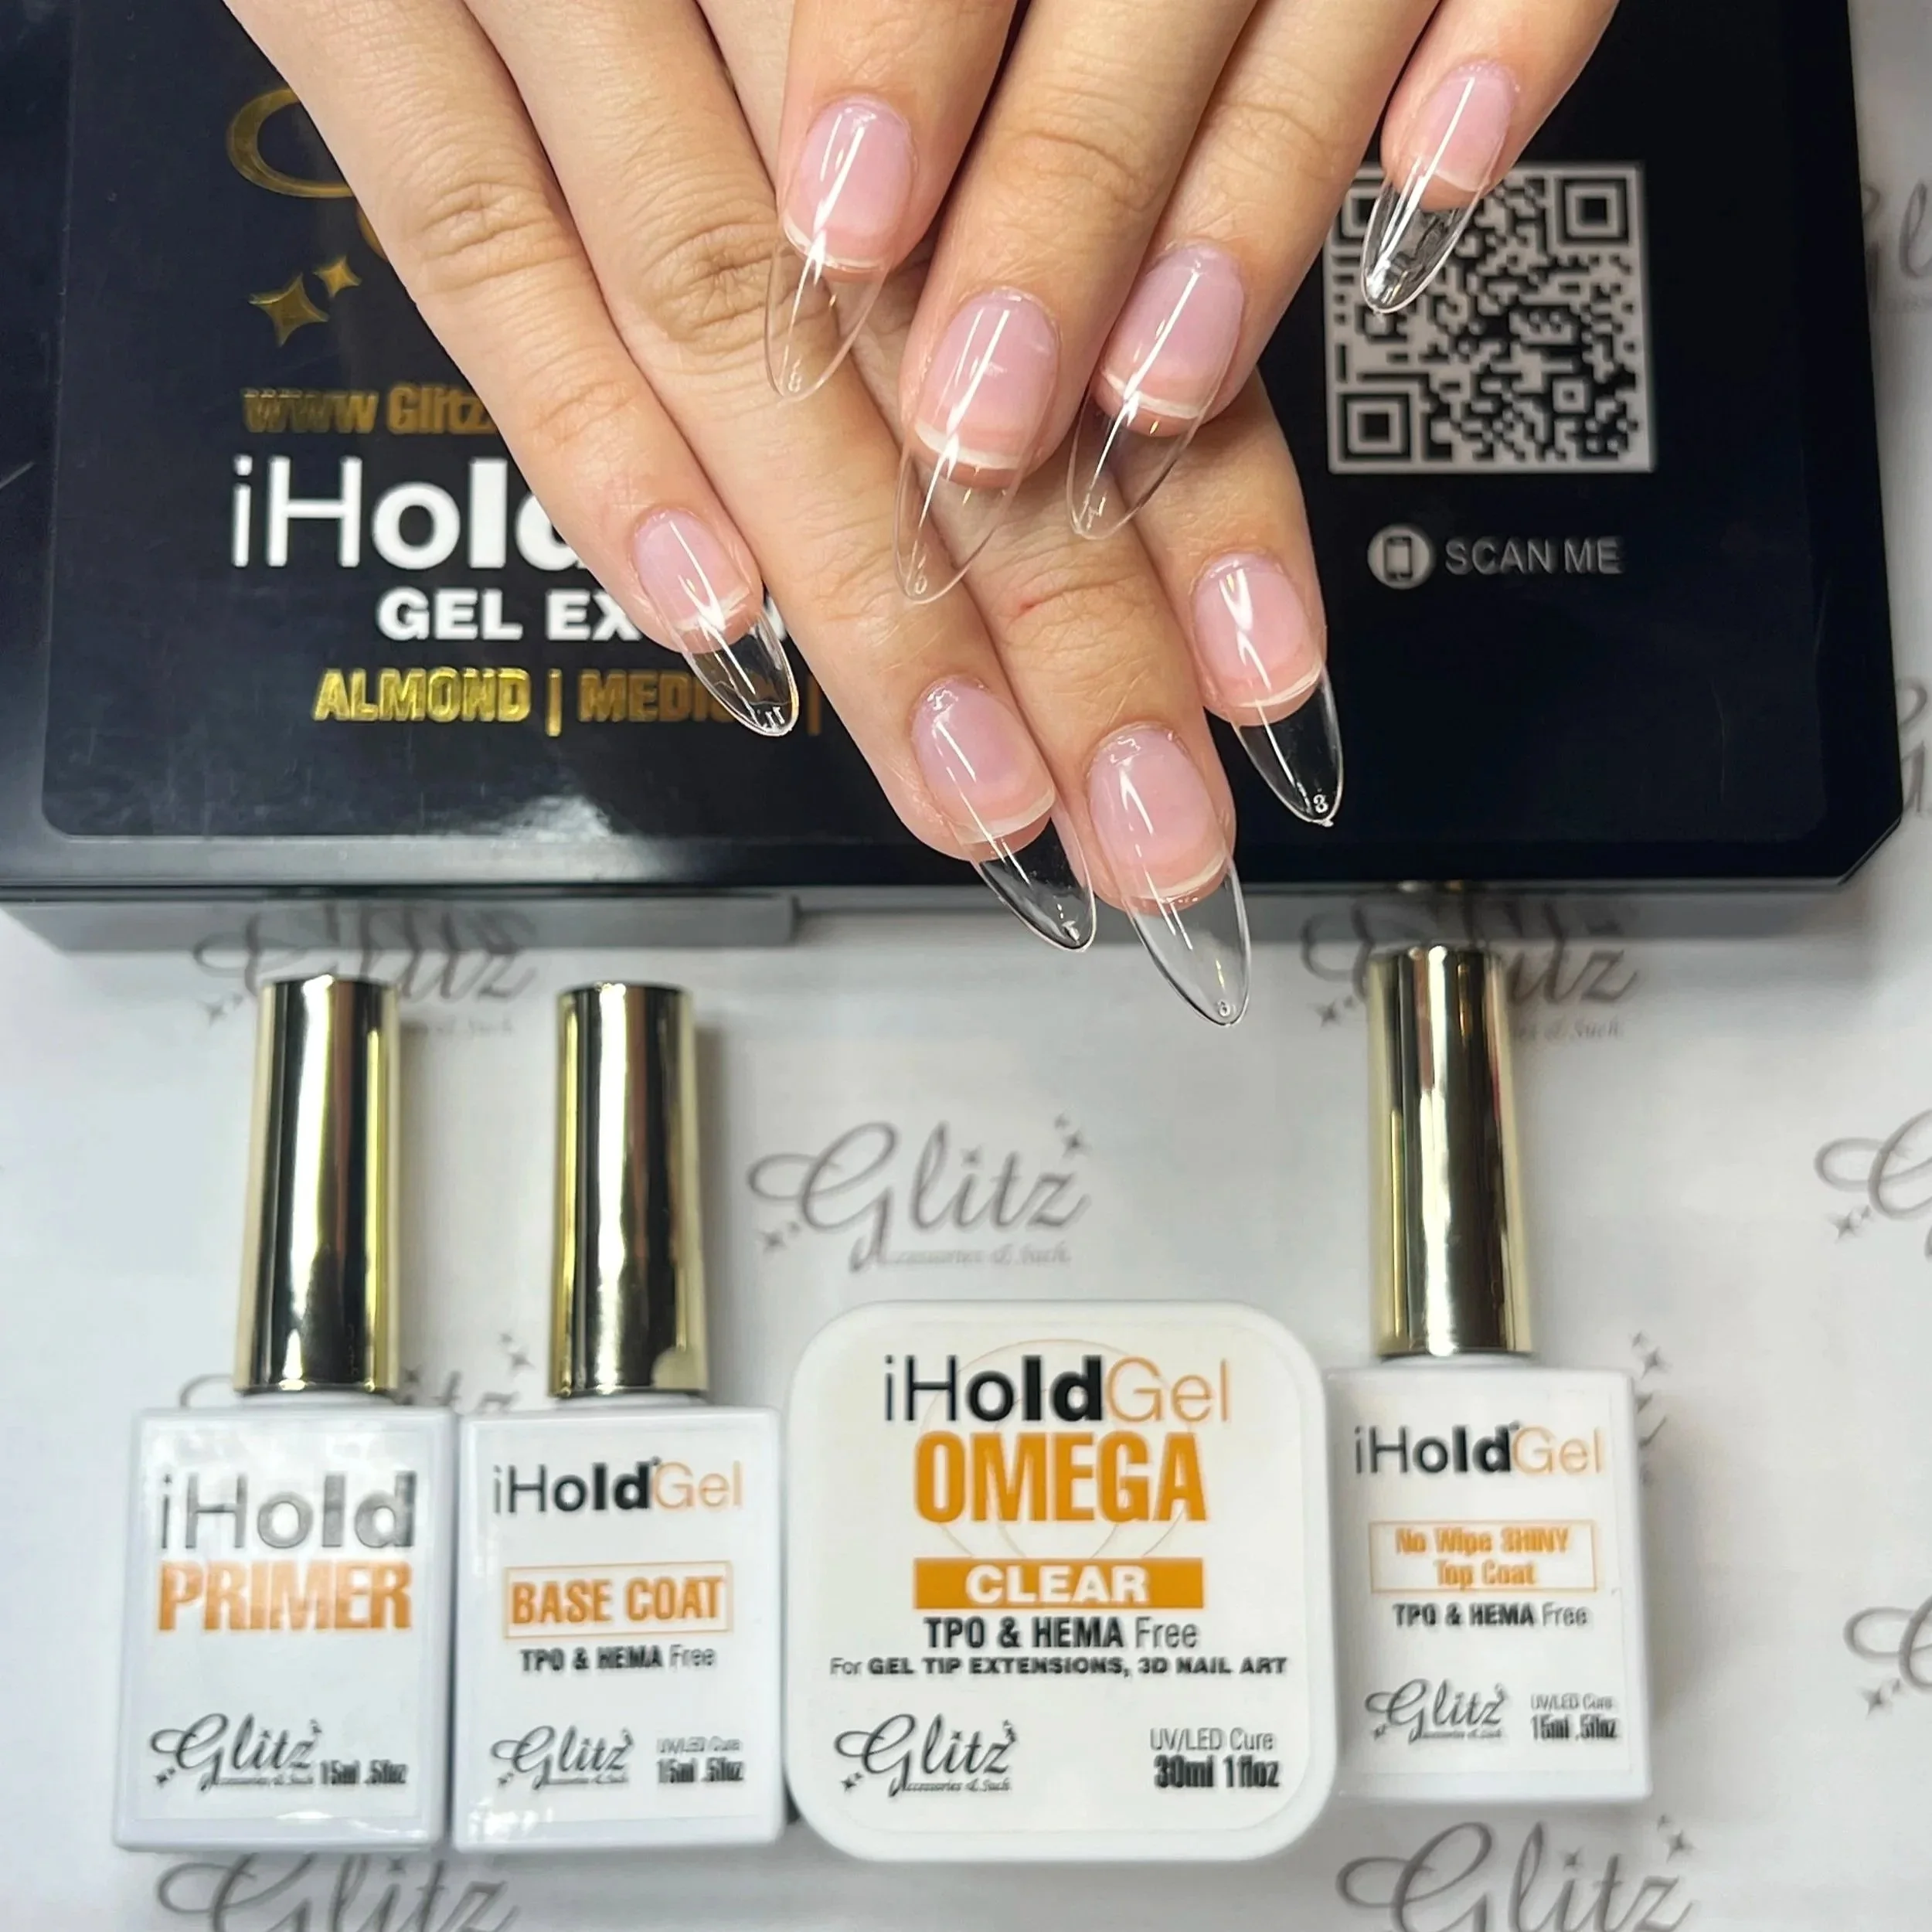 Image 7 of 8
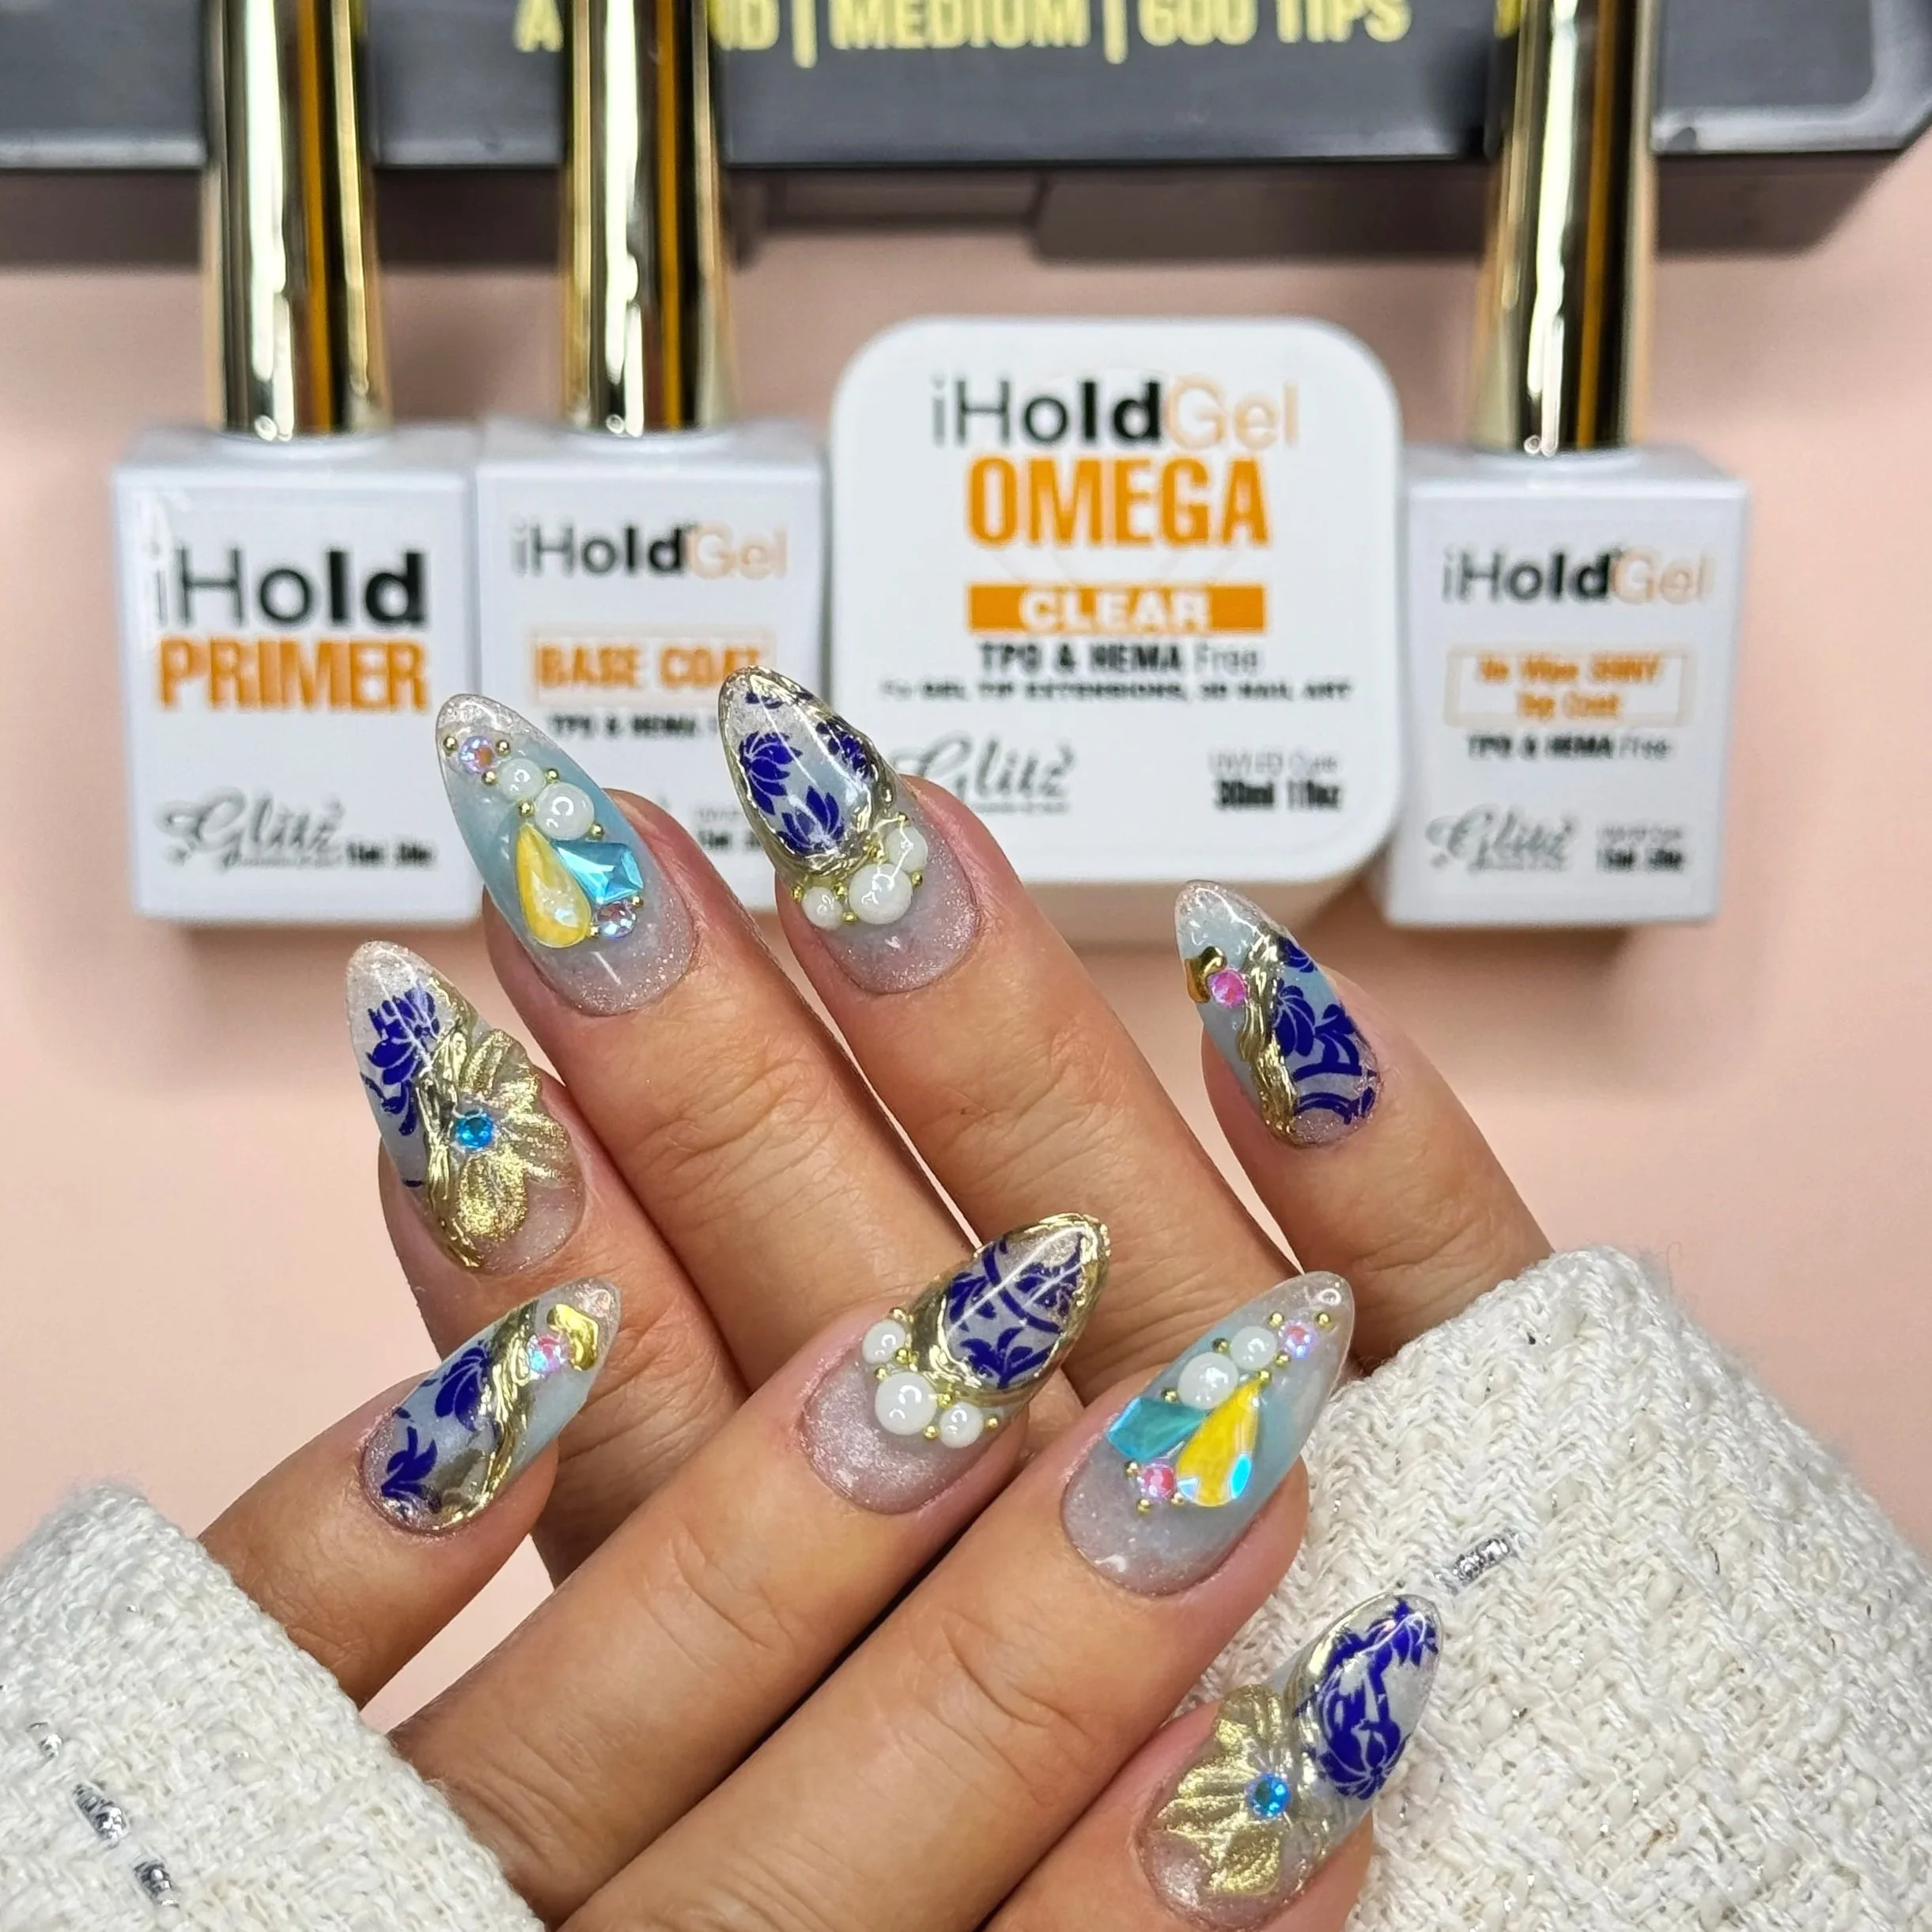 Image 8 of 8